Translation note: This English version was translated by Codex (GPT-5) on 2026-04-20 18:01:46 CST. The source text is the corresponding Chinese post in this repository.
Summary: This article gives a full walkthrough of how I built my personal blog with GitHub and Hexo.
The Basic Process
- Have a GitHub account.
- Install Git, Node.js, and Hexo.
- Buy a domain through Cloudflare.
- Follow tutorials to deploy a static blog powered by Hexo.
Stay on a stable international network connection throughout the process.
If you get stuck, ask GPT or search online.
Reference links:
- Zhihu user Fengye: Build a personal blog from scratch (Parts 1-8)
- Jason’s Blog: Build a personal blog quickly - a beginner-friendly tutorial
Detailed Notes
1. Register GitHub, install Git, and configure the SSH connection between local and GitHub repositories
There are already plenty of tutorials online for this part, so I will not repeat them here.
Pay special attention to GitHub two-factor authentication and SSH setup.
2. Buy a domain on Cloudflare
First, search on Alibaba Cloud Wanwang to see whether the domain name you want has already been registered. Then buy it on Cloudflare. You will need either an international credit card or PayPal.
The price for the same domain can vary across registrars. I bought it directly on Cloudflare because it was the simplest option for me.
3. Install Node.js and Hexo, and create an xxxx.github.io repository on GitHub
- There are many Chinese tutorials for installing Node.js.
- Hexo can be installed from the Git command line with
npm install -g hexo-cli.- Hexo is essentially like a factory: the input is articles (
.mdfiles), and the output is web pages (.htmlfiles).
- Hexo is essentially like a factory: the input is articles (
- You can also refer to this article: Personal Blog Part 5 - Installing Node.js and Hexo
- If you create a GitHub repository named
xxxx.github.io
GitHub will automatically resolve it as a free GitHub Pages homepage, which effectively works like a free server.
Problems I ran into during this stage:
- Identity verification with a token
- SSH key verification
I solved both by repeatedly asking ChatGPT and searching on Google.
Once the configuration is complete, you can visit xxxx.github.io in your browser and see the Hexo blog site you have built.
4. Configure DNS through Cloudflare
For the domain
caoyueyang.org
I added four A records. Once they took effect, the site became accessible through the custom domain:
1 | Type: A |
GitHub Pages officially recommends adding four records for better reliability:
1 | 185.199.108.153 |
Then add one CNAME record so that the www subdomain also works and redirects to the purchased domain:
1 | Type: CNAME |
Once the GitHub Pages DNS resolution and HTTPS certificate application finish automatically, the basic blog framework is complete.
5. Modify the Hexo configuration
In the _config.yml file under the root of the local blog project, you can configure many aspects of the site.
By running git clone https://github.com/theme-next/hexo-theme-next themes/next in the command line, you can download a community-made blog theme. I chose the same next theme as the tutorial I followed.
You can also choose among NexT’s sub-schemes in the theme config file. I will not go into detail here; GPT and Google can explain those parts well.
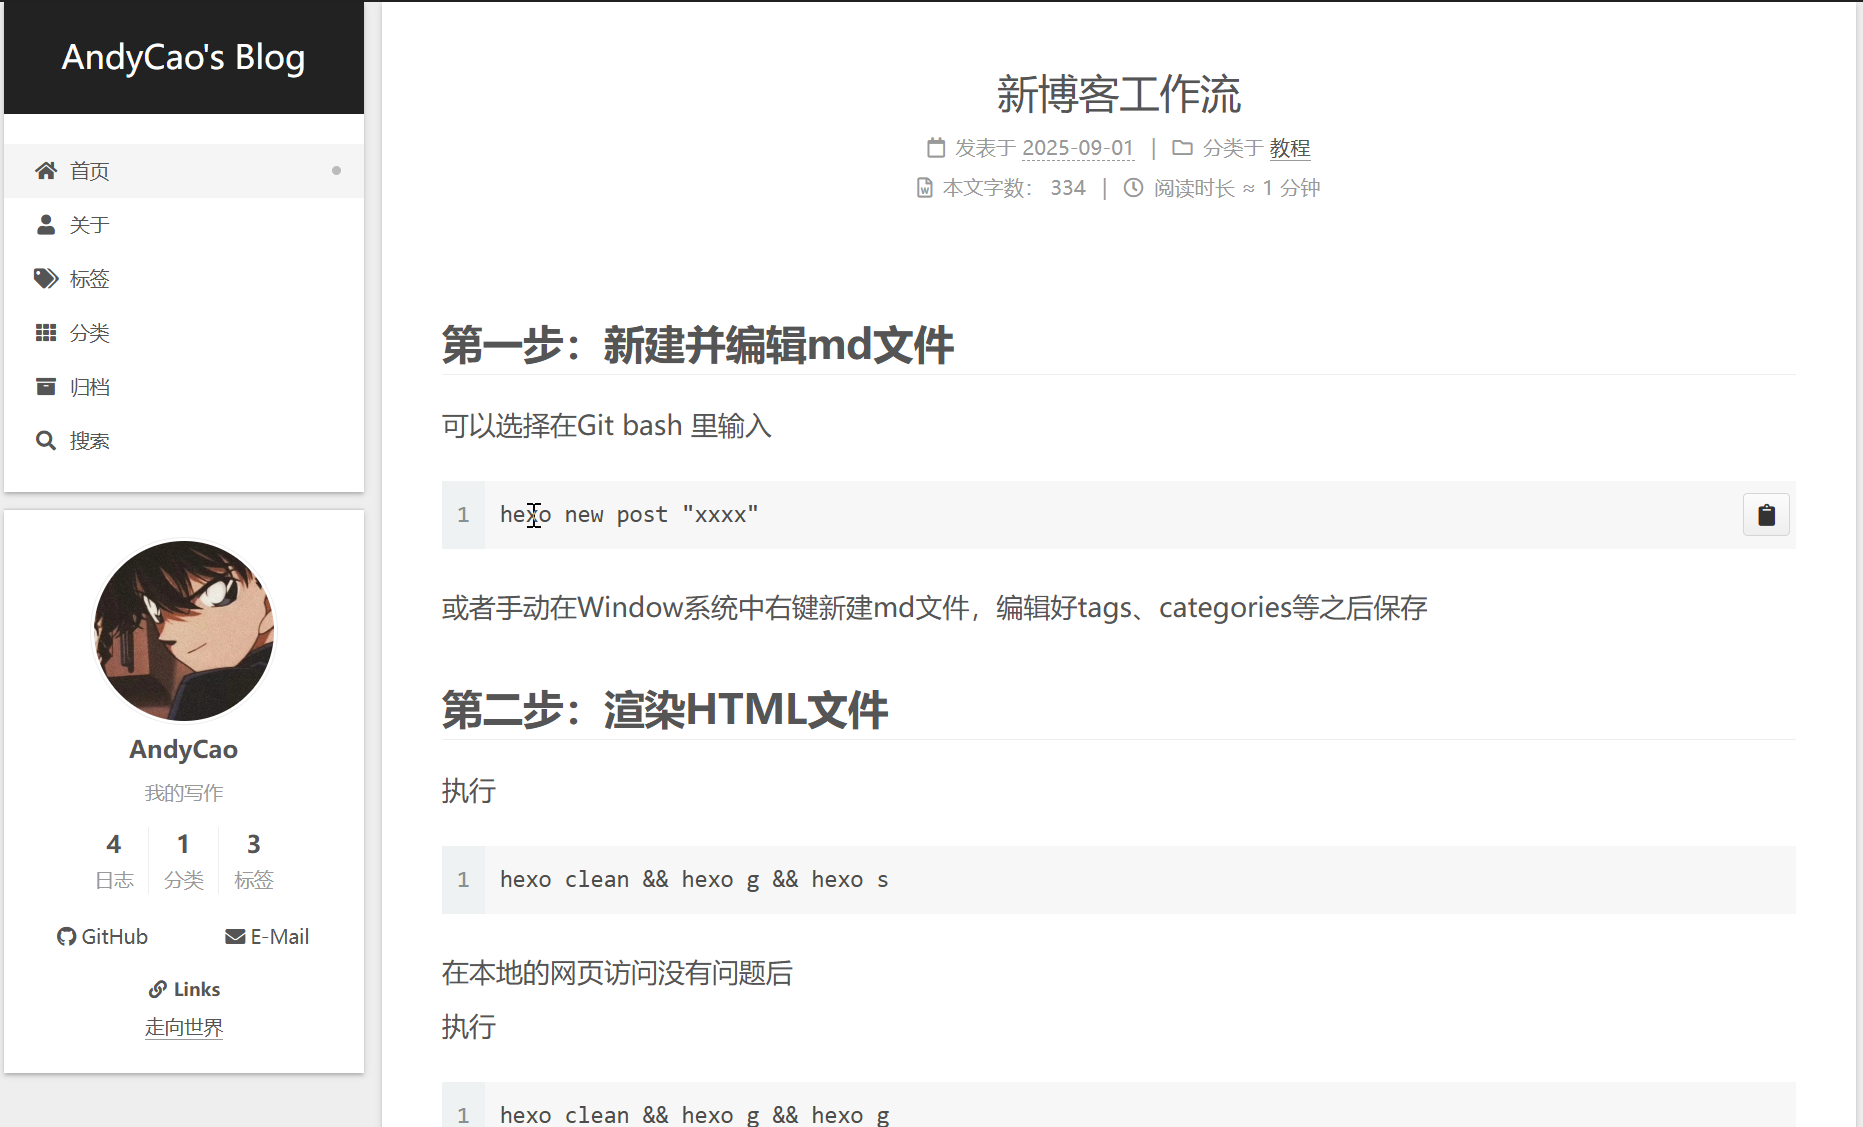
After following the tutorial on theme optimization to configure homepage sections such as the sidebar, comments, and friend links, your homepage should look roughly like this:
After that, you can happily start adding posts to your blog.
Local posts are stored in Blog/source/_posts.
By entering hexo clean && hexo g && hexo d in Git Bash, you can update the website. For the full publishing flow, see New Blog Workflow. For Markdown formatting, see Markdown Basics.
Problems I Ran Into
- Folder names on GitHub may differ in capitalization from local ones. The root cause is that Windows is case-insensitive by default, while Linux is case-sensitive. This can cause the website to fail to recognize folder names correctly and return 404 pages. My solution was to remove the remote files, reconfigure Git, and upload the folders again with corrected names from scratch.