Preface
In the first two articles, I covered why to build iOS apps and how to prepare your model/tooling stack. In this part, we build the first real iOS app that runs on your own device.
Prerequisites
- Download Xcode on your Mac.
- Prepare an Apple Developer account.
Enroll in Apple Developer Program
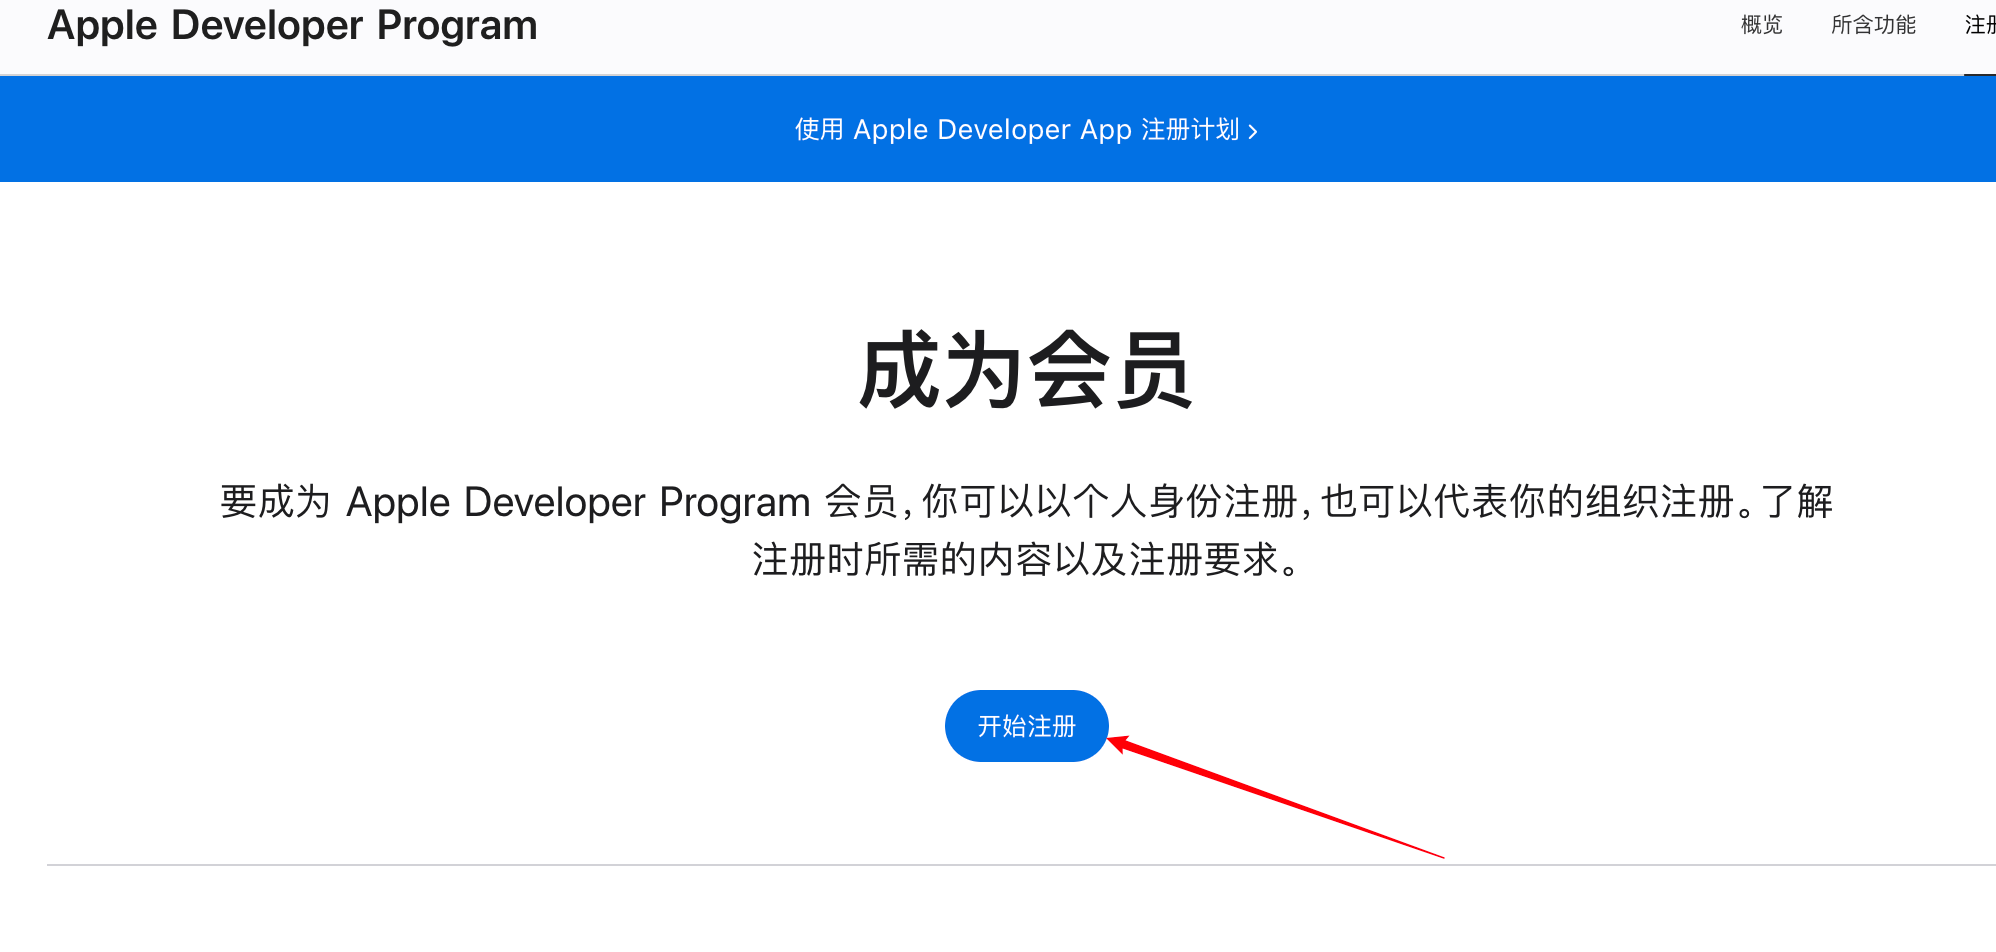
Click to start enrollment.
For an individual account, you generally need:
- An Apple account with 2FA enabled.
- Legal age in your region.
- Valid email, phone, and address (no PO Box).
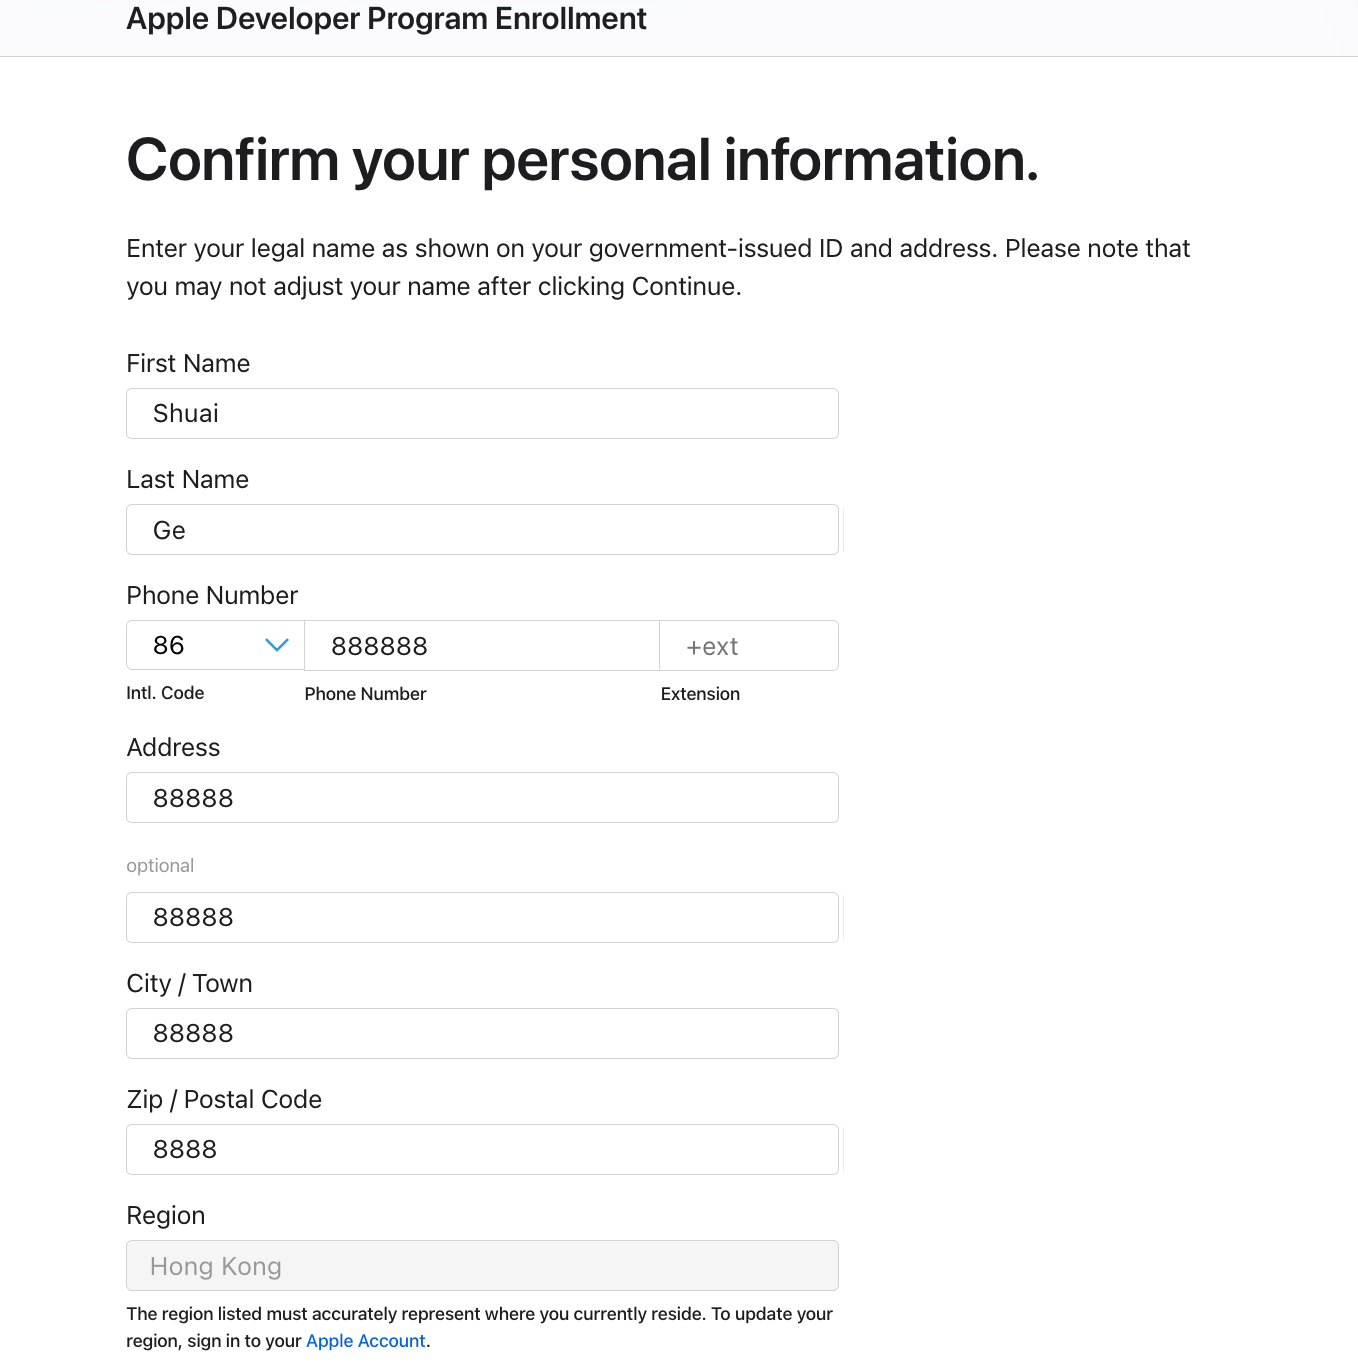
Fill in your real personal information.
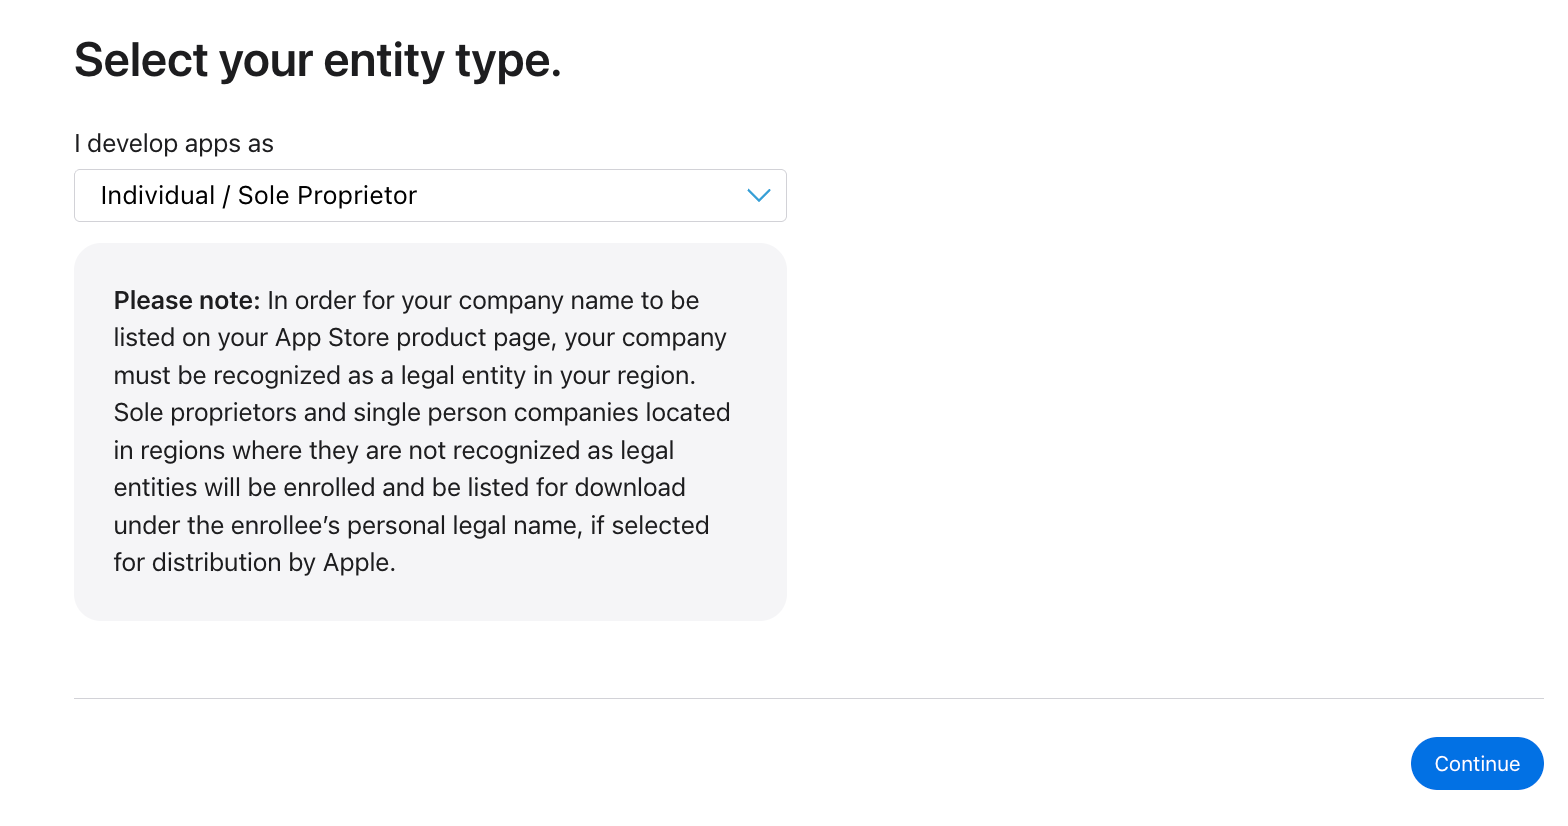
Choose Entity Type as Individual.
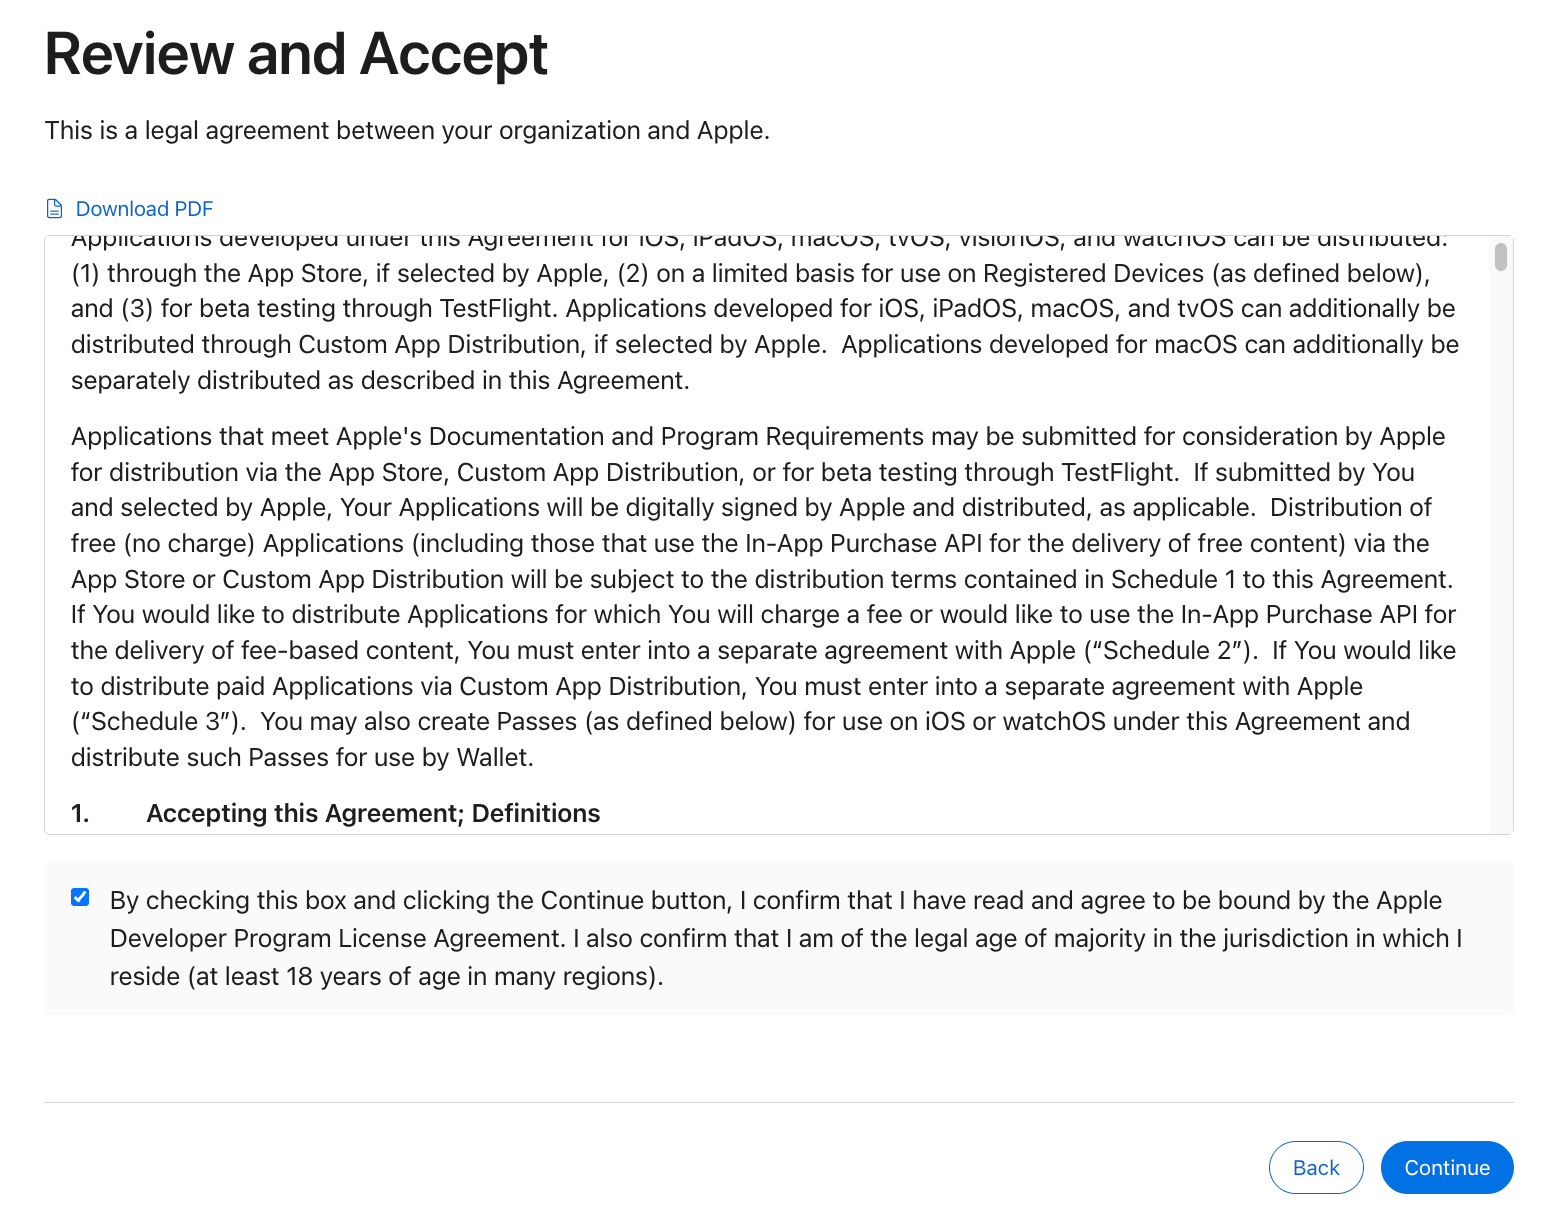
Accept the agreement.
Then pay the fee and wait for approval.
If needed, use the “Contact Us” section for support.

Support is usually handled by email. If you are not sure how to write it, draft it first and let AI polish it into formal wording.
Download Xcode
Search for Xcode in the Mac App Store and download it.
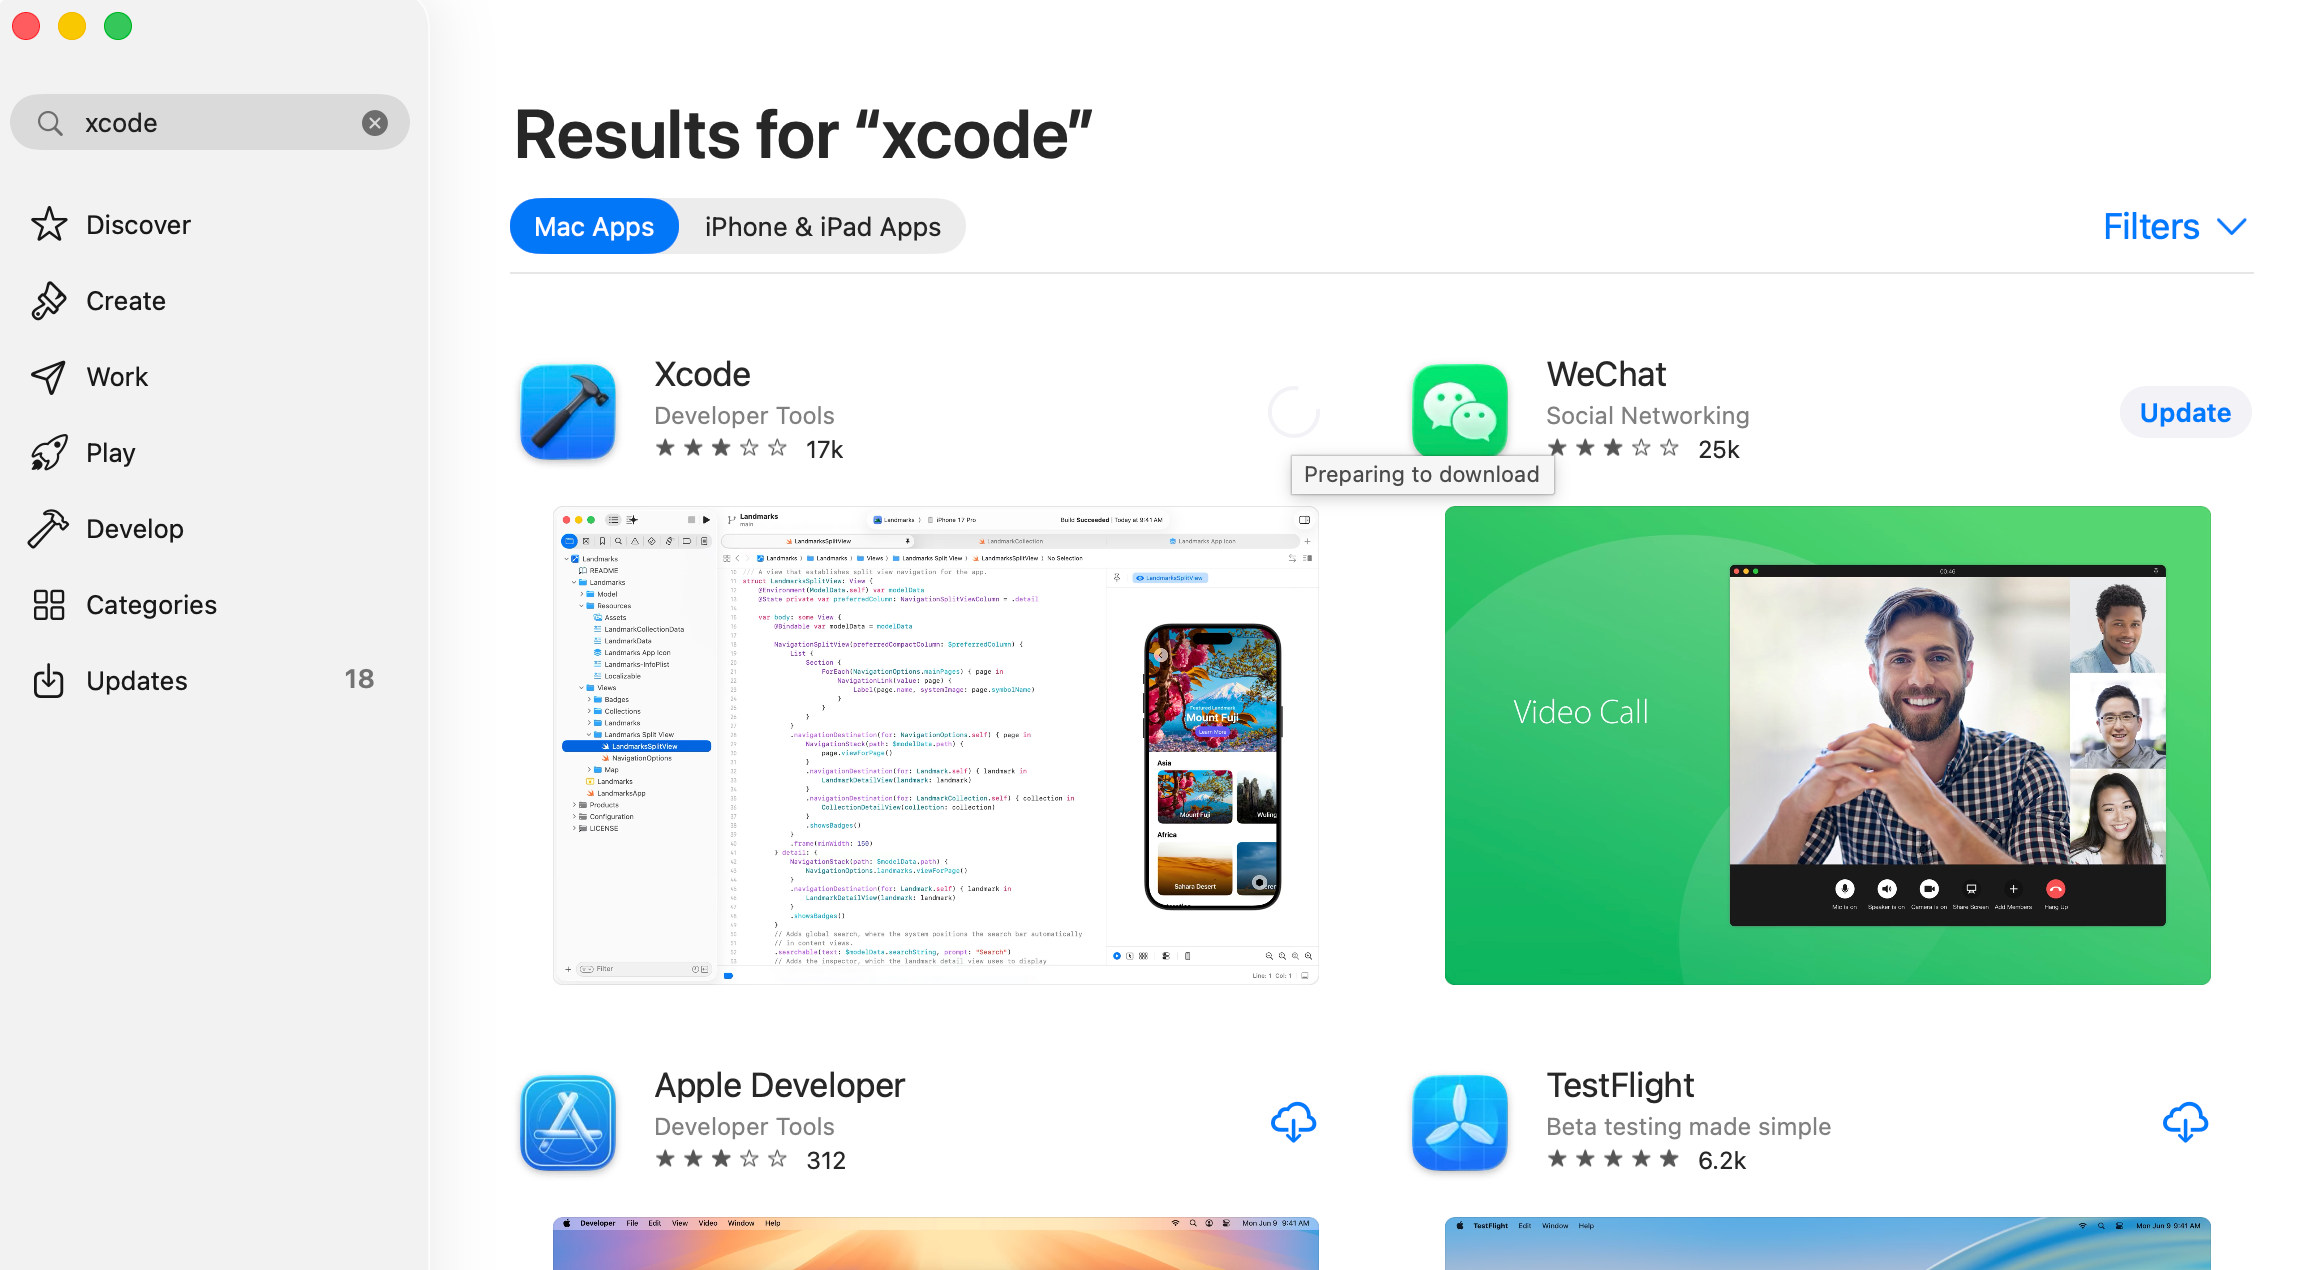
Wait for installation to finish.
Understand Xcode
Xcode is Apple’s official IDE (Integrated Development Environment). It is used to compile, debug, package, sign, and release iOS apps.
If you use AI heavily, you may spend less time editing directly in Xcode and more time discussing requirements and implementation details with AI.
Xcode and Android Studio are similar in role: at the end of the day, you still need an IDE to compile/sign/package and release apps.
Create a New Project
Open Xcode and click Create a new Xcode project.
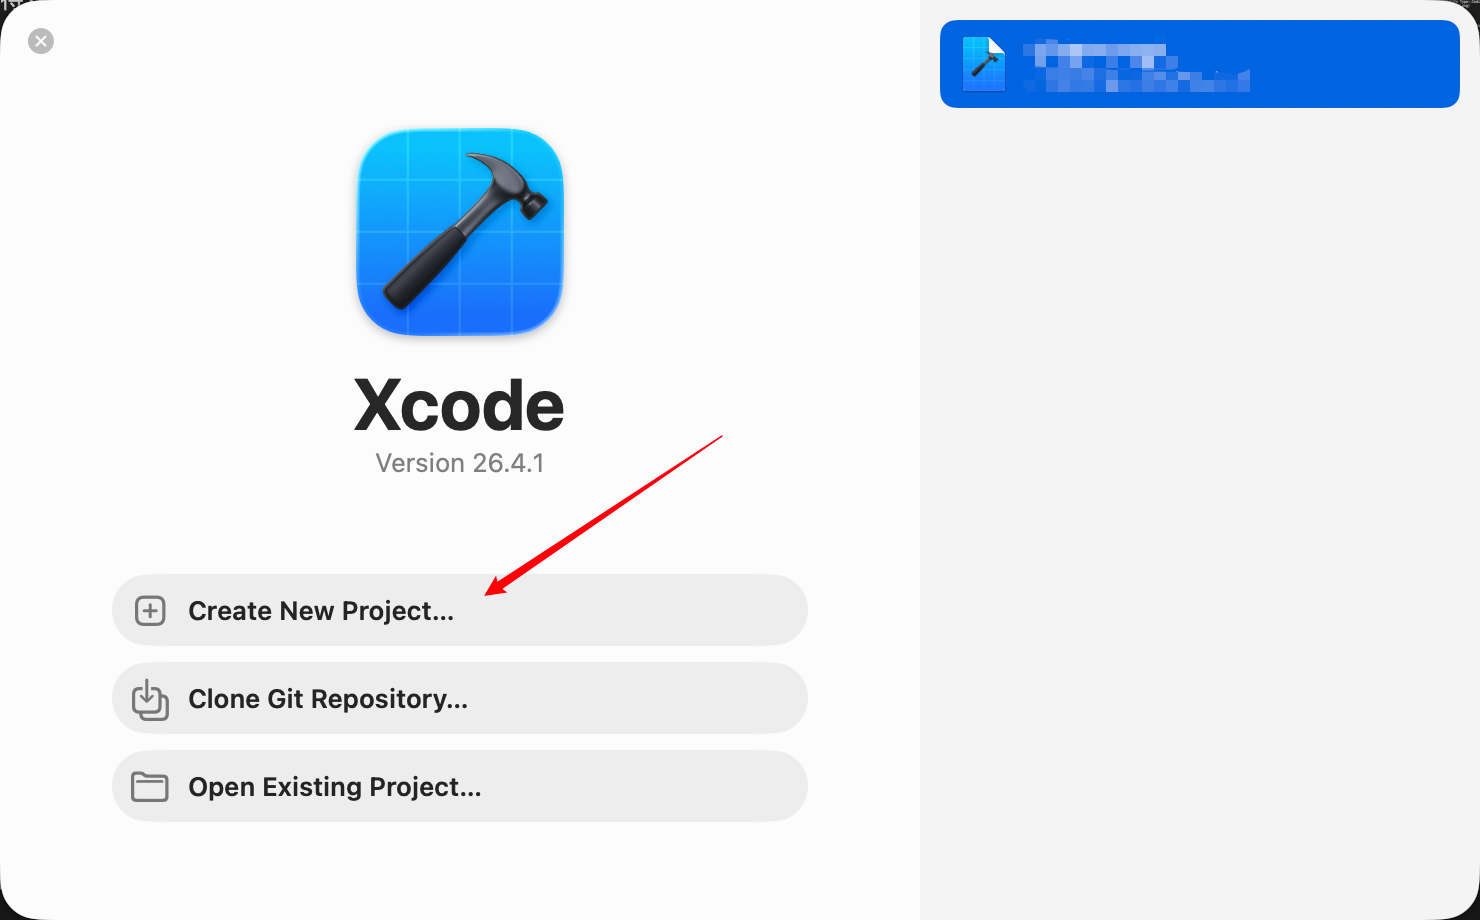
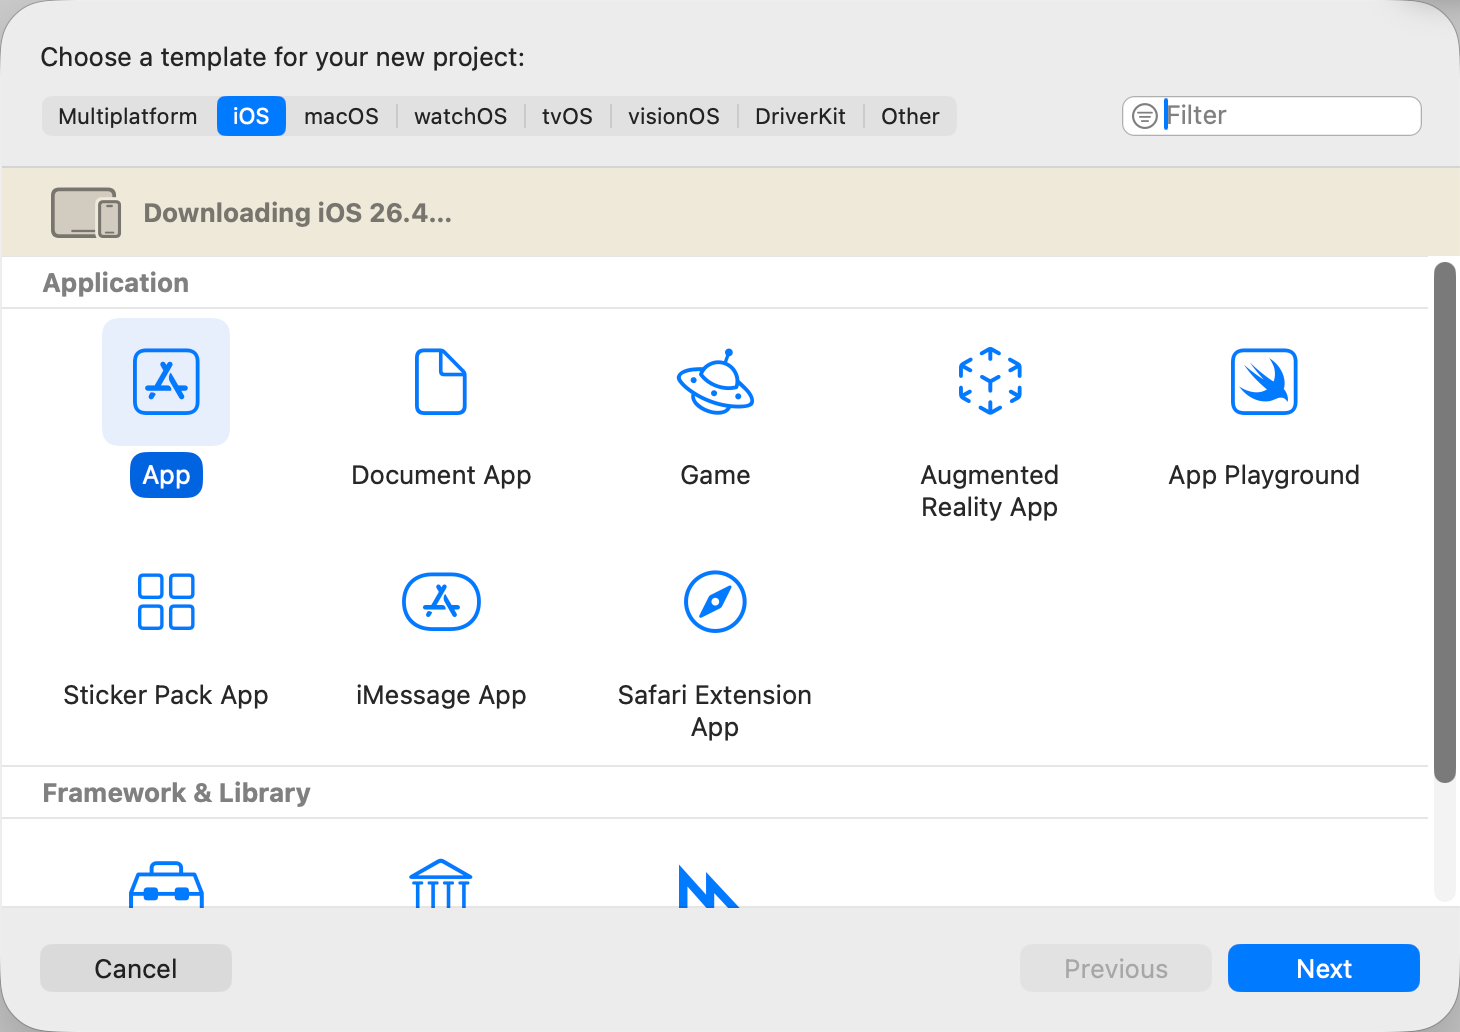
Choose the App template, then click Next.
Fill in project info:
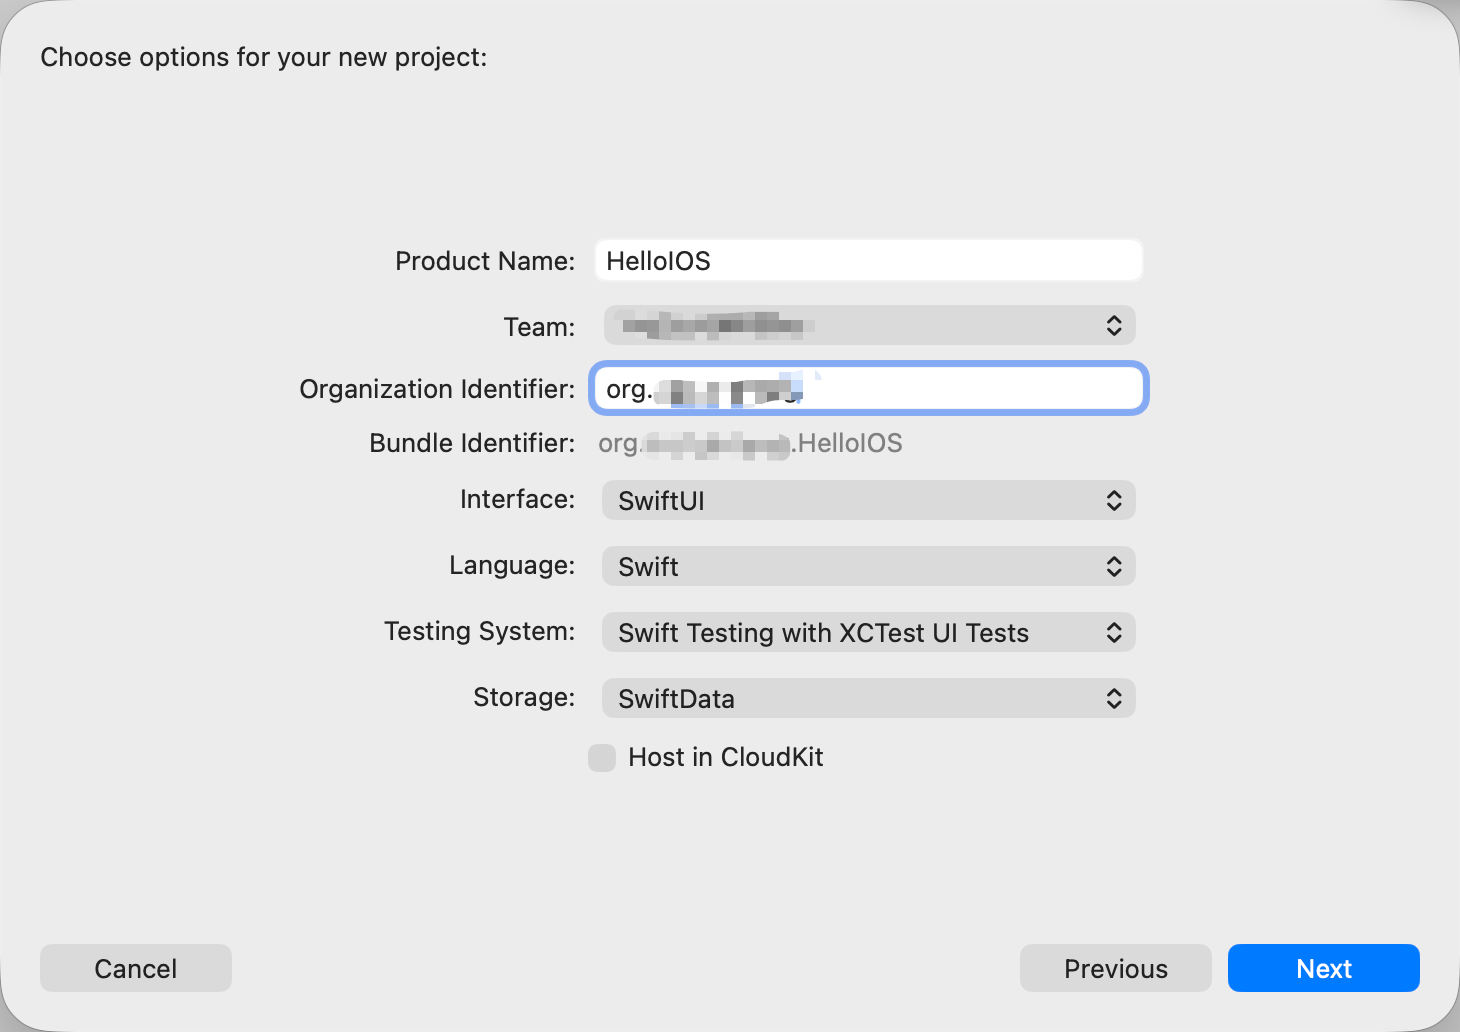
- Product Name:
HelloIOS(any name, can be changed later) - Team: your developer account
- Organization Identifier:
com.yourname(example:com.andy) - Interface:
SwiftUI - Language:
Swift - Testing System: default (
Swift Testing with XCTest UI Tests) - Storage:
SwiftData - Host in CloudKit: do not enable for now (avoid iCloud sync complexity)
Click Next, choose where to save it, then click Create.
Now you have a project.
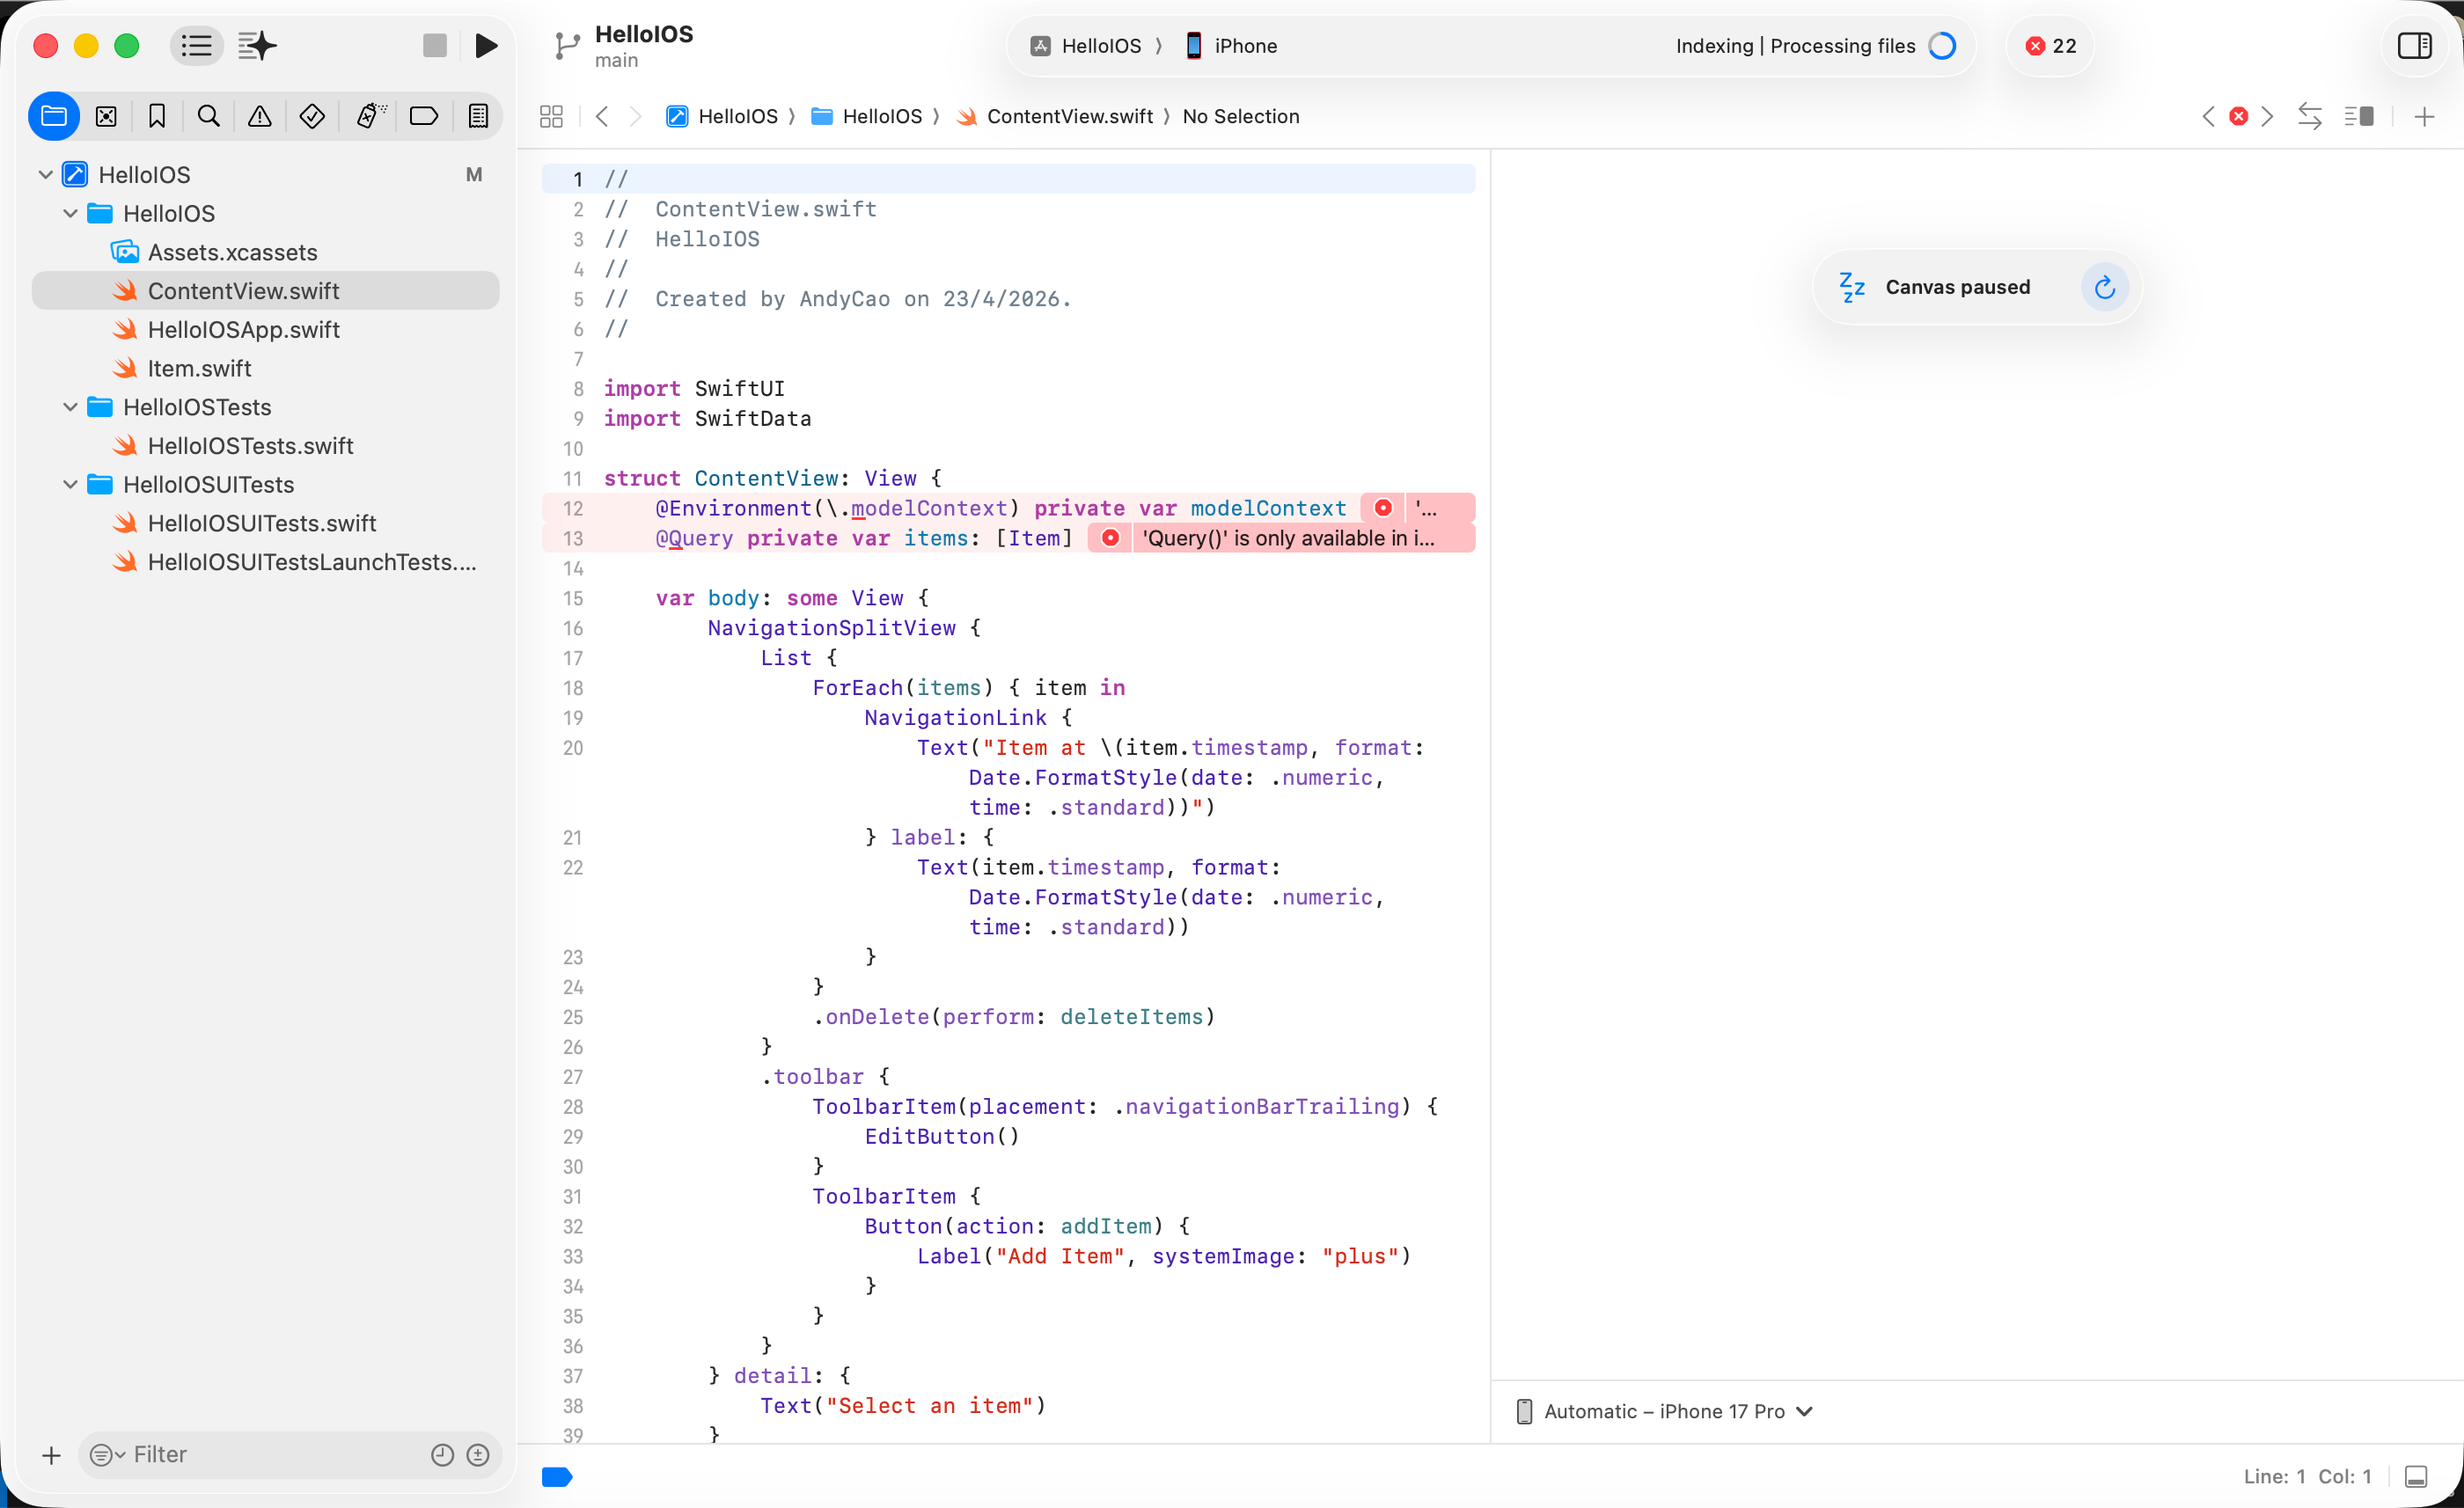
Left side: files. Middle: editor. Right side: simulator/device preview area.
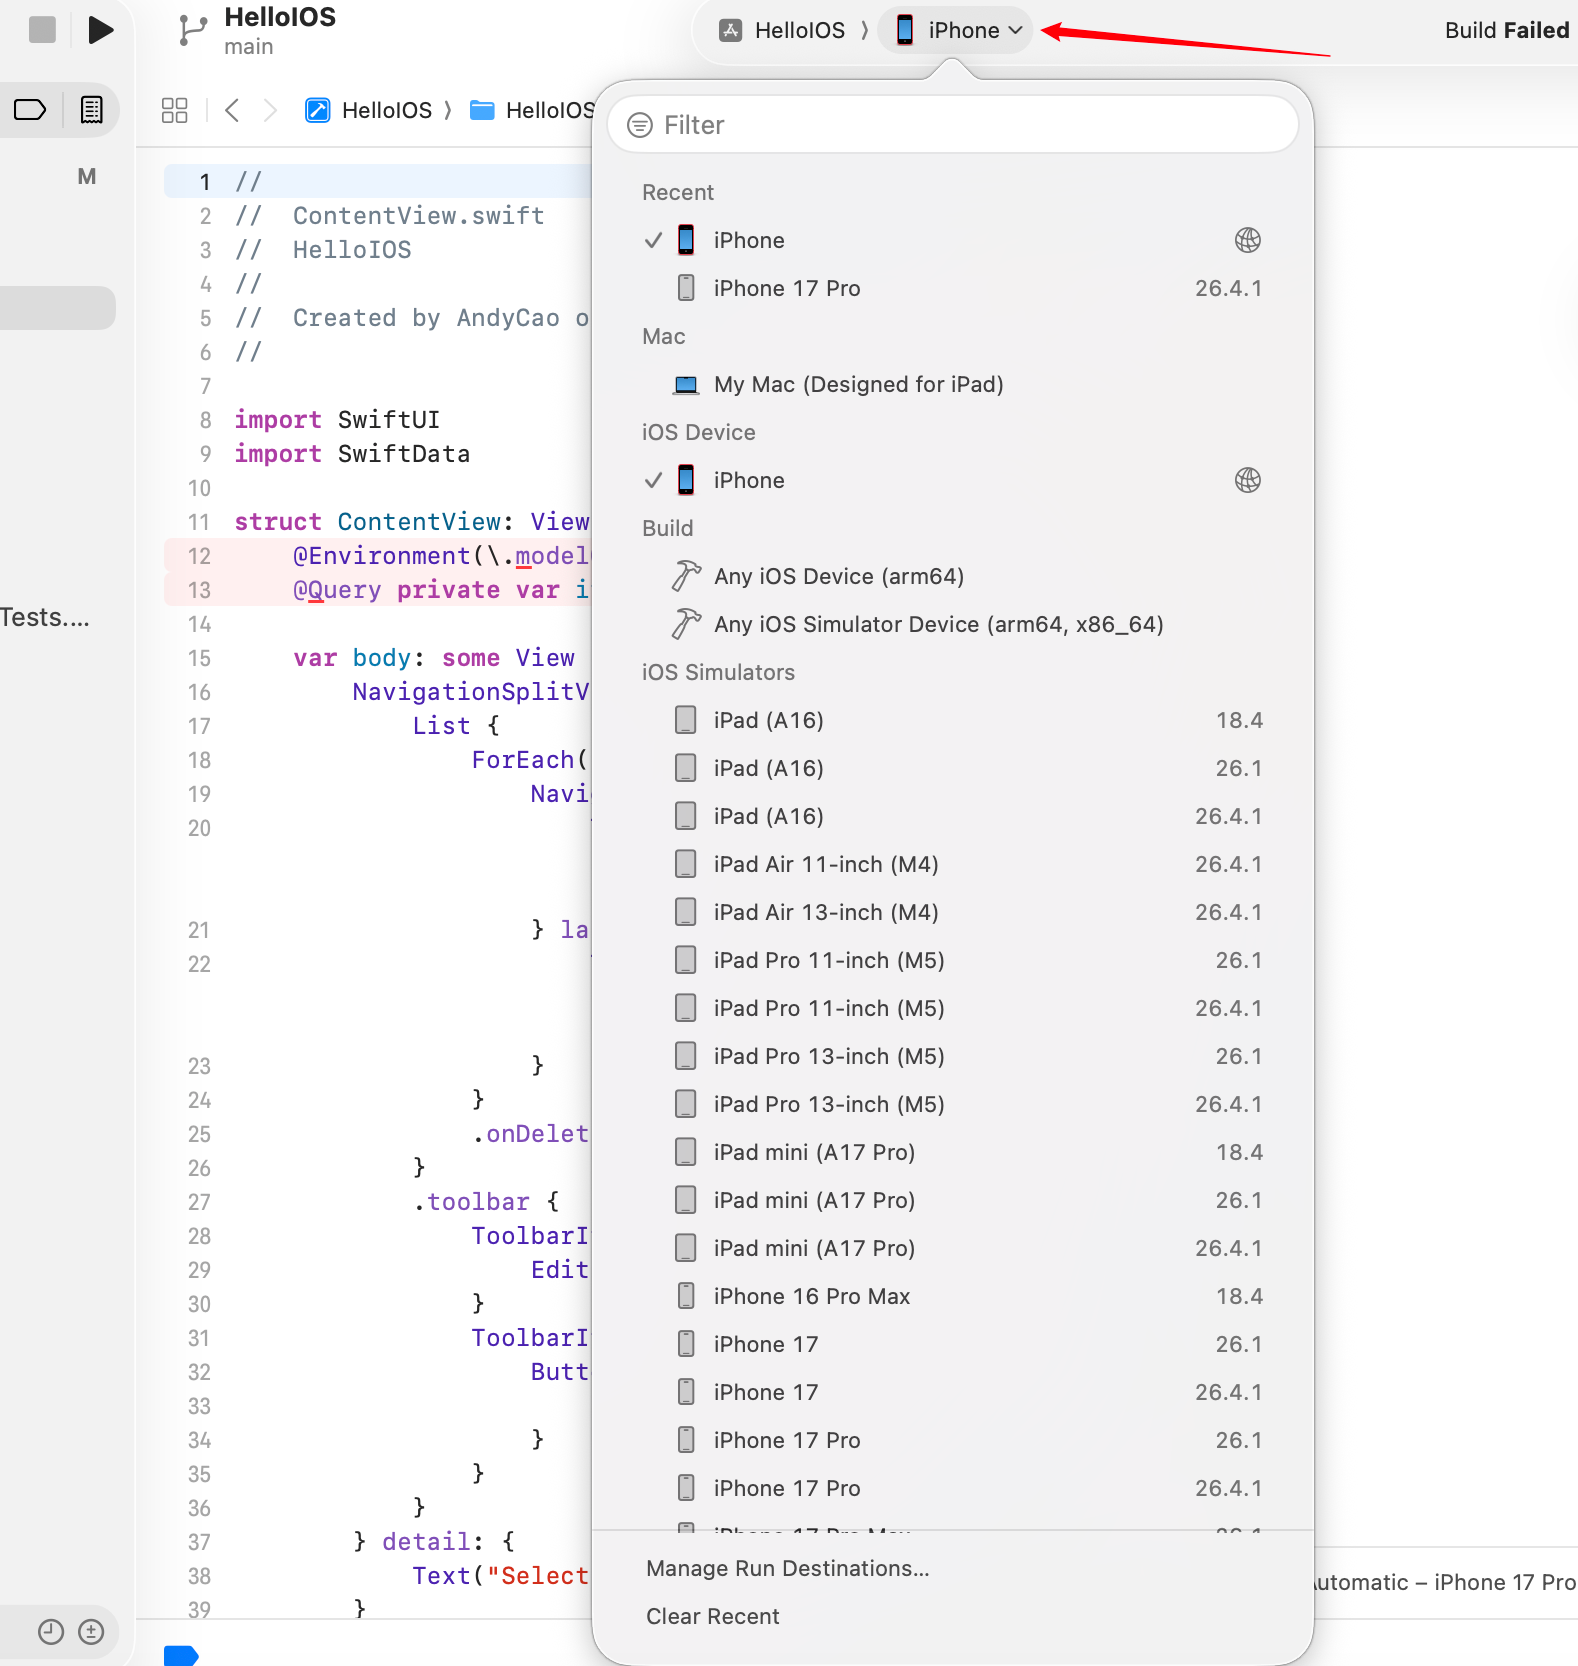
Choose device or simulator, then hit Run (Command + R). I ran directly on my real iPhone. (For first-time connection you need cable, developer mode, and signing trust steps. These details are tedious but manageable. Screenshot errors and ask AI when needed, and stay patient.)
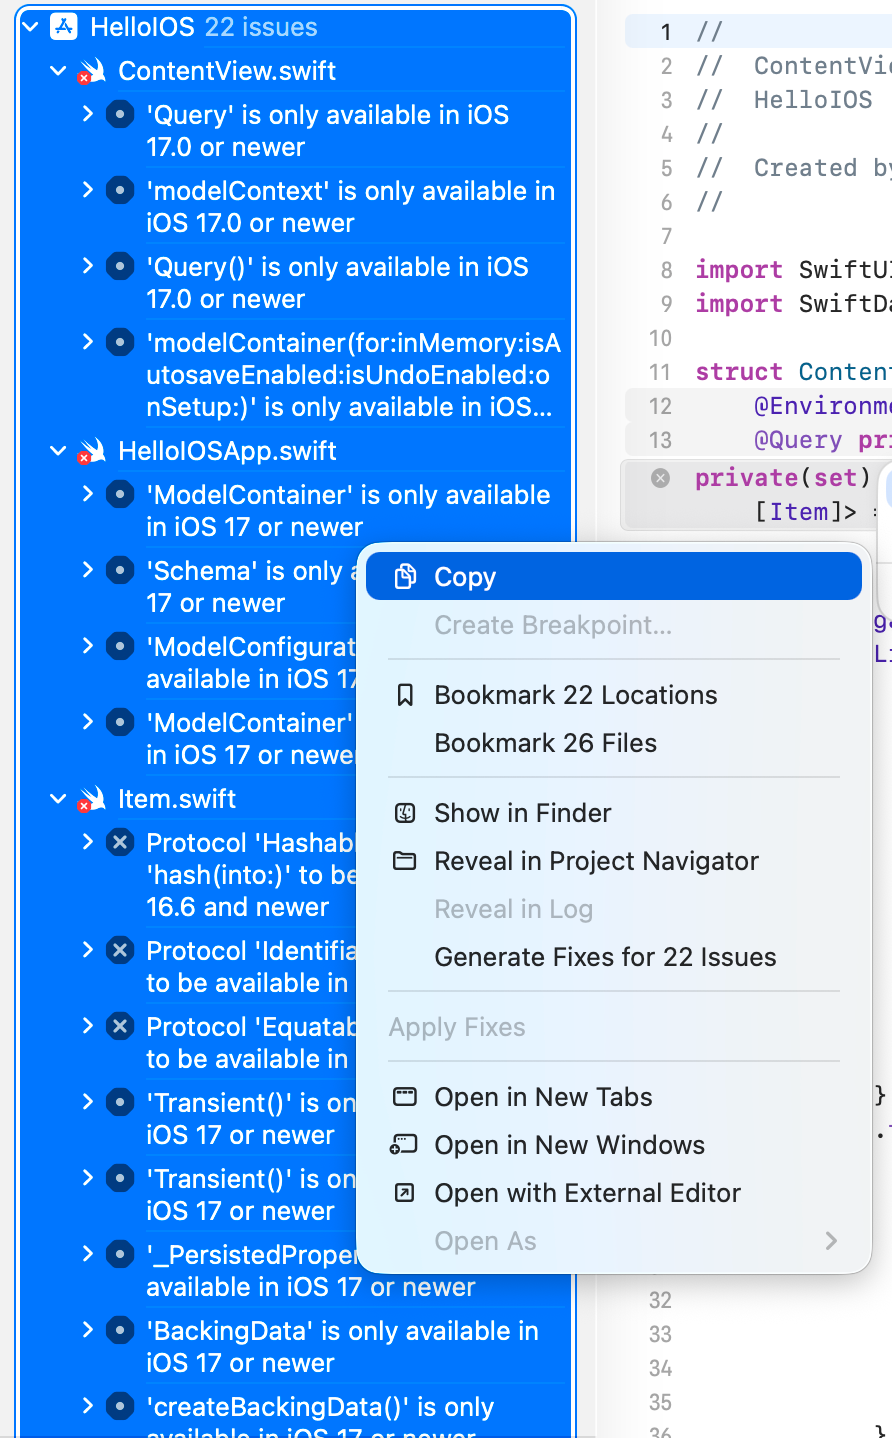
Then came a huge Build Failed and a wall of red errors.
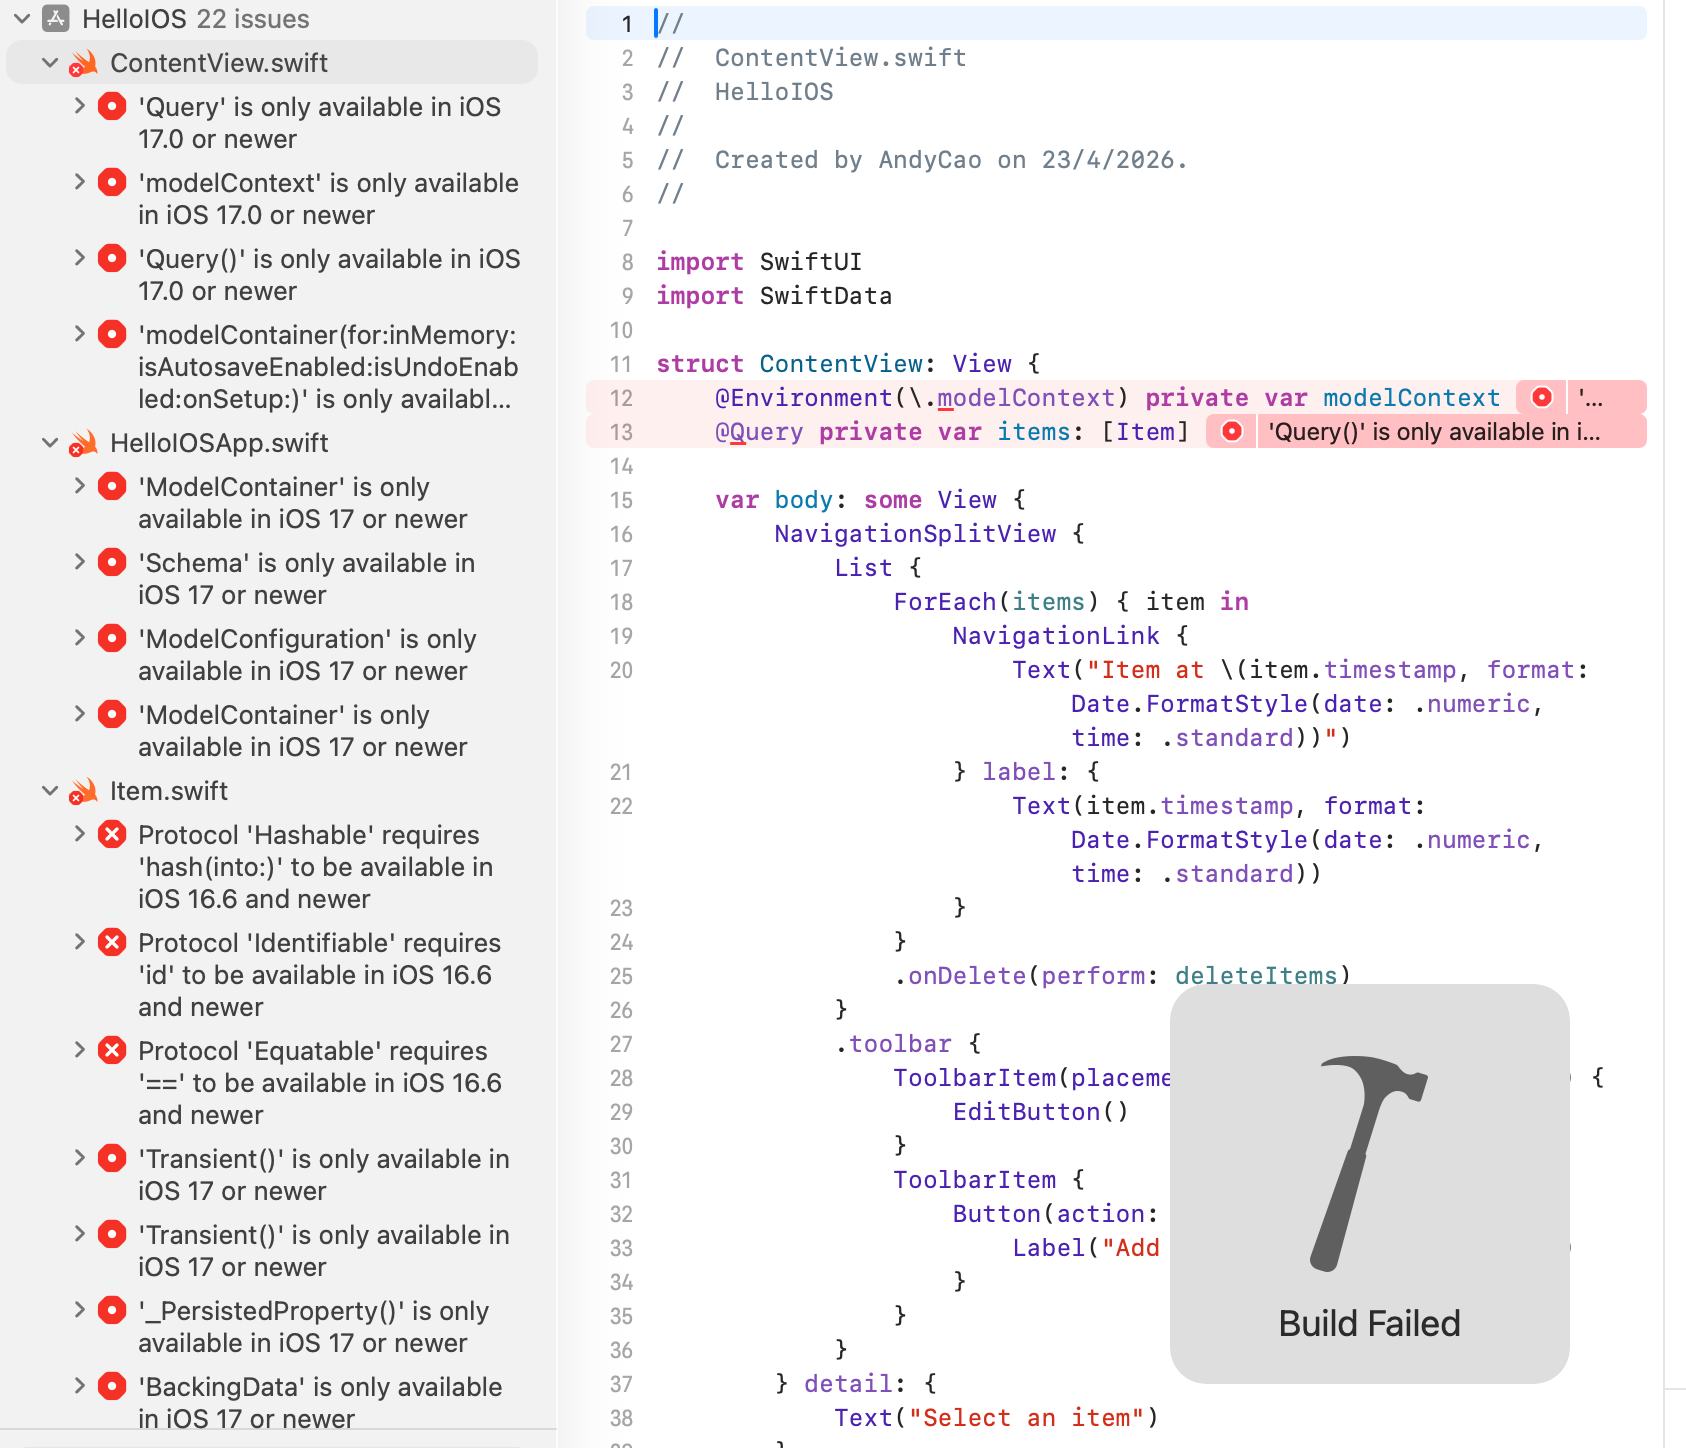
That is where debugging starts.
You may ask: what if I do not know programming and cannot write SwiftUI at all?
That is okay. I could not write a single line of SwiftUI either, and still got my first iOS app running.
It is not because I suddenly became a stronger programmer. The workflow changed. A lot of repetitive app-layer work can now be delegated to AI. Only low-level, highly specific, or very large/complex cases still require heavy manual coding.

At this stage, one option is to copy all error messages to web AI tools (Gemini, GPT, etc.) and fix them one by one.
Translation note: This English version was translated by Codex (GPT-5) on 2026-04-24 00:08:00 CST. The source text is the corresponding Chinese post in this repository.
Ready to jump in and start?
One more thing: modern AI tools now have agentic capability. They can analyze and modify code directly, so you no longer need to manually copy and paste every error.

Tool choices include:
Tool Categories
CLI tools
- Claude Code
- CodeX
Editor plugins in VSCode-like editors (Cline, Kilo Code, etc.)
- Cursor
- Antigravity
- VSCode
Agent apps
- CodeX App
- Claude App
Pick based on your workflow.
AI-Assisted Development with Cline
I use Antigravity + Cline as an example here (same idea in VSCode).
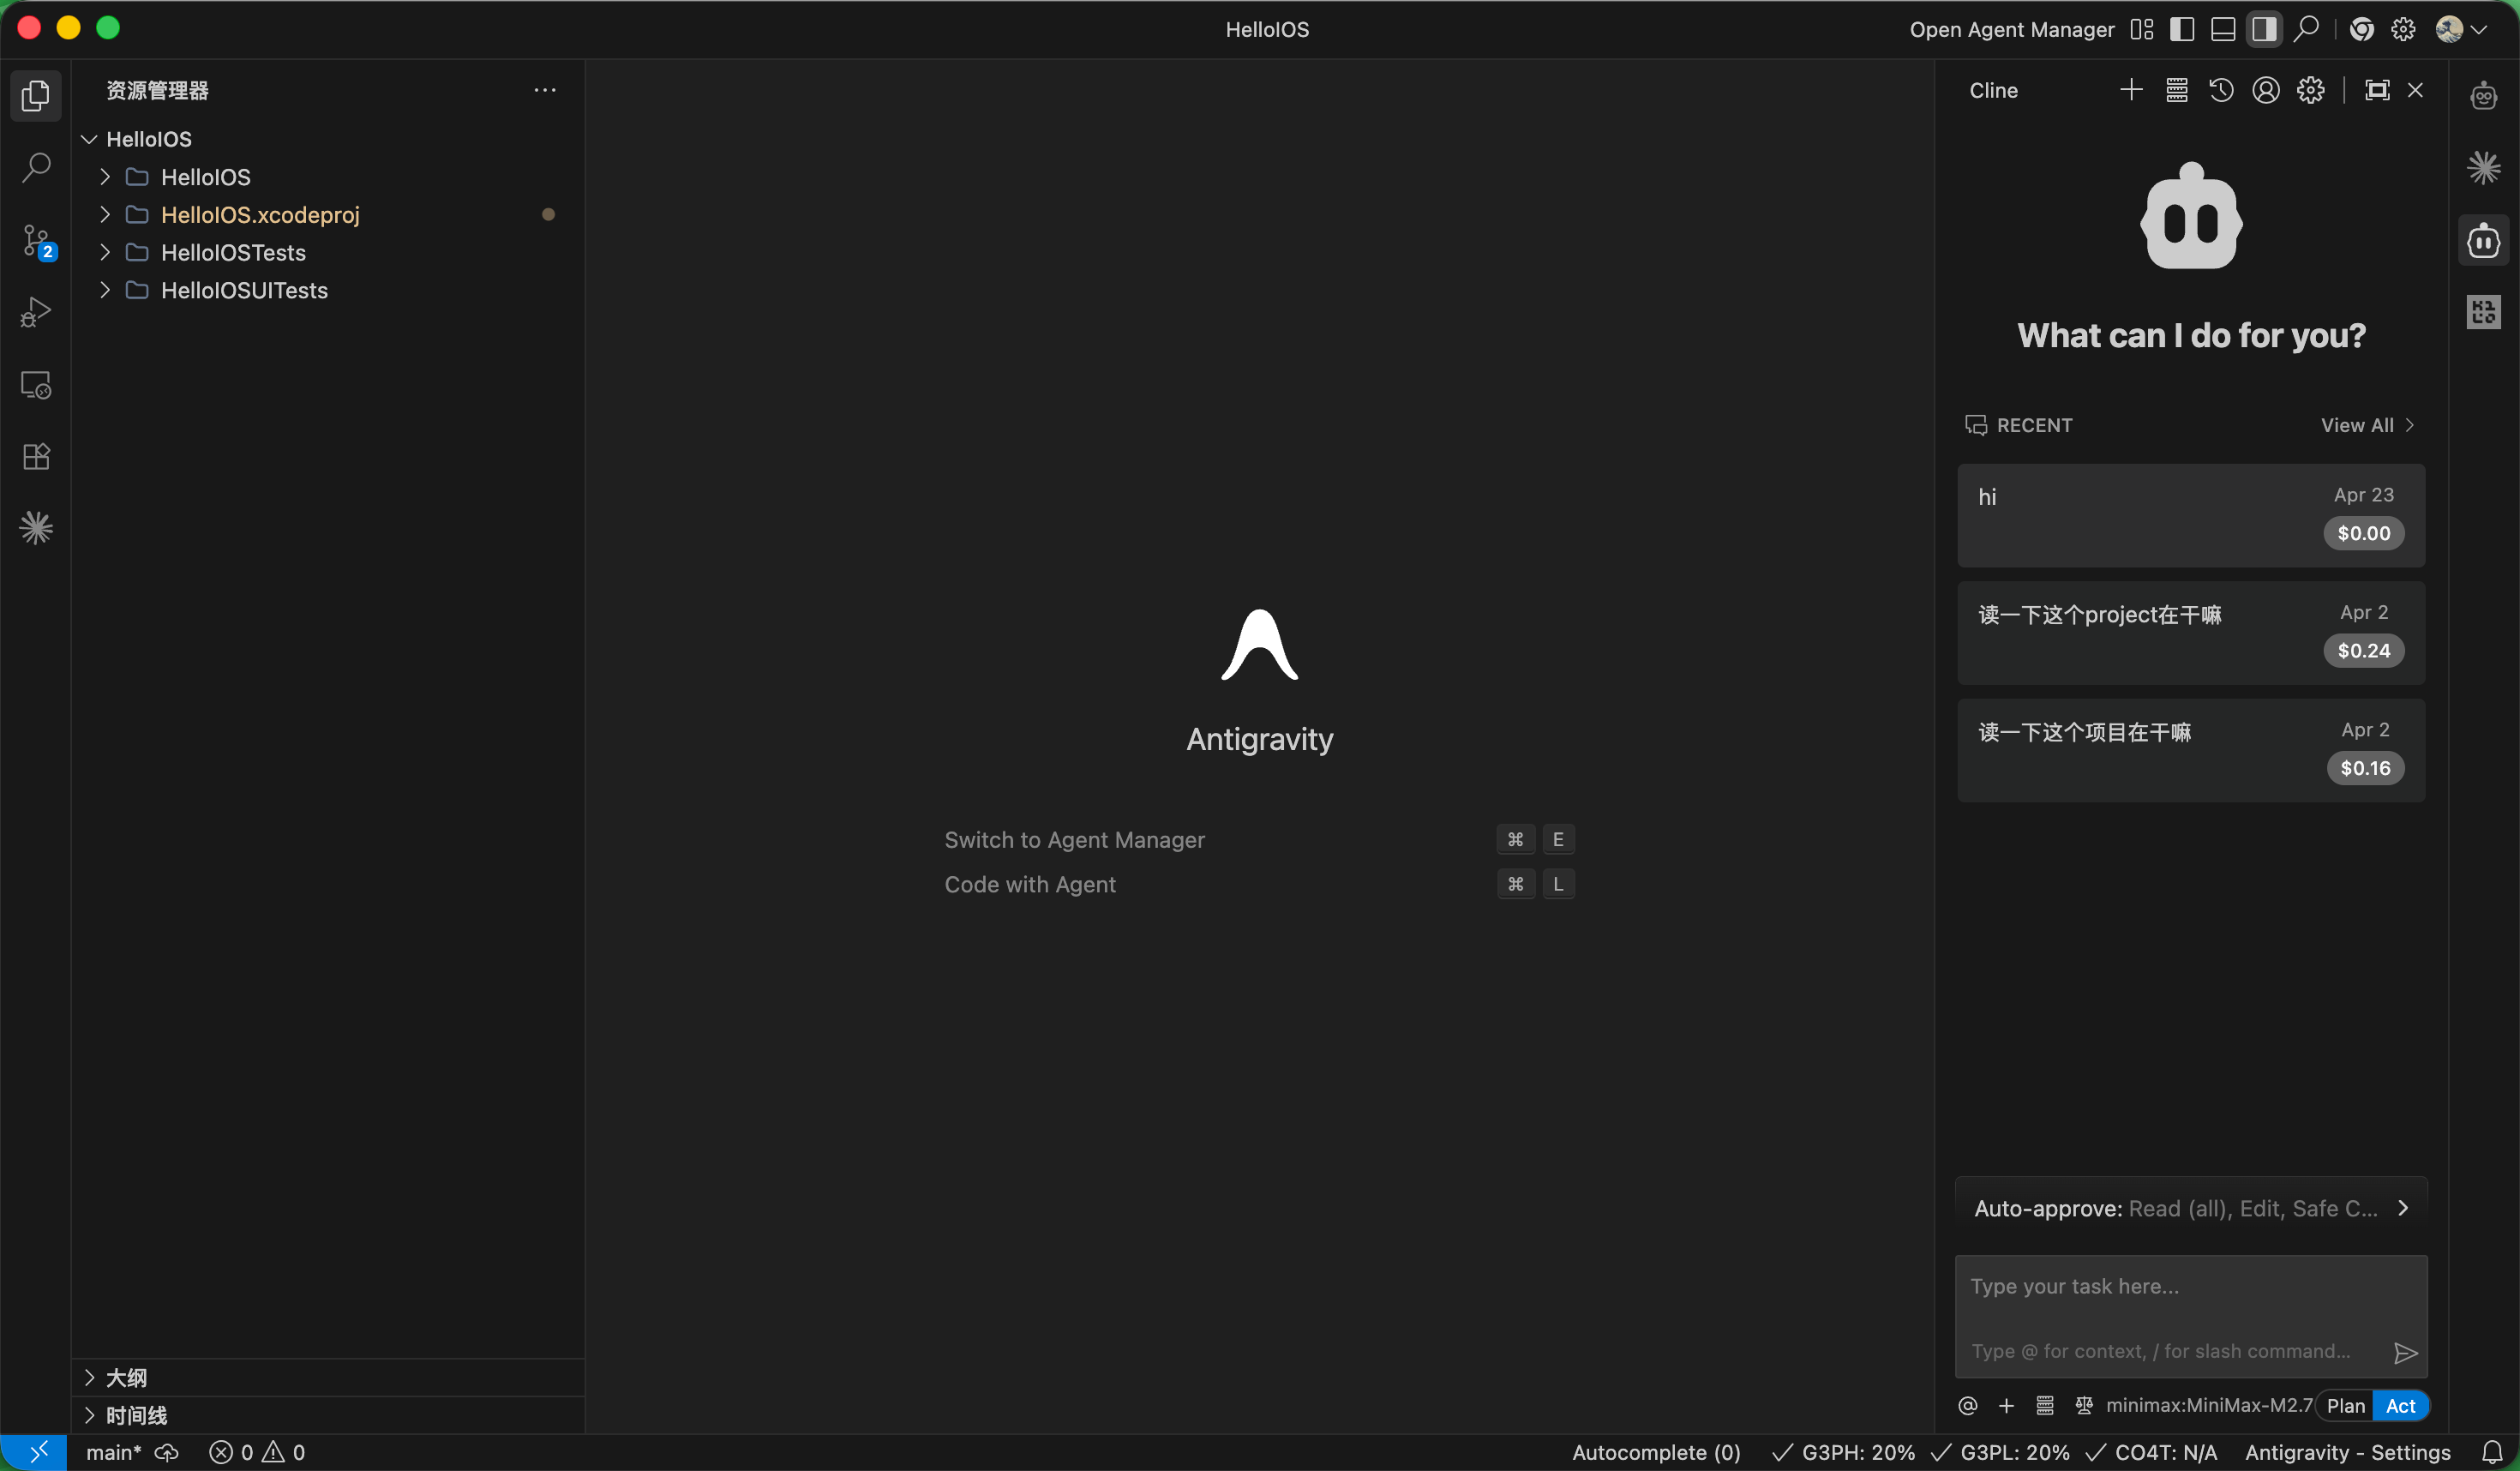
- Install Cline from the extension marketplace.
- Configure your API key in Cline settings.
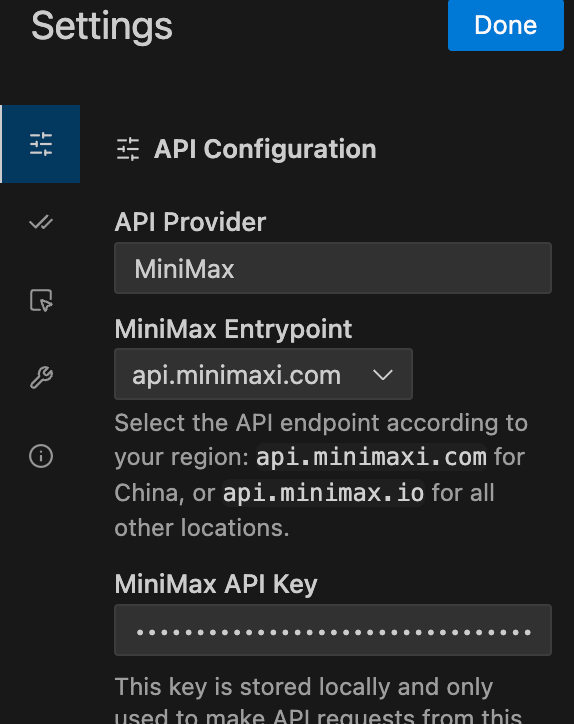
I used a Minimax Token Plan for this run.
Official guide: https://platform.minimaxi.com/docs/token-plan/cline#cline
Invite link (10% off): https://platform.minimaxi.com/subscribe/token-plan?code=H5mFhfRxqH&source=link
(Not an ad. I may switch providers later. This is only used as a practical example because I still had quota.)
After setup, open your project folder in the editor, launch Cline, and ask the agent to read the project first.
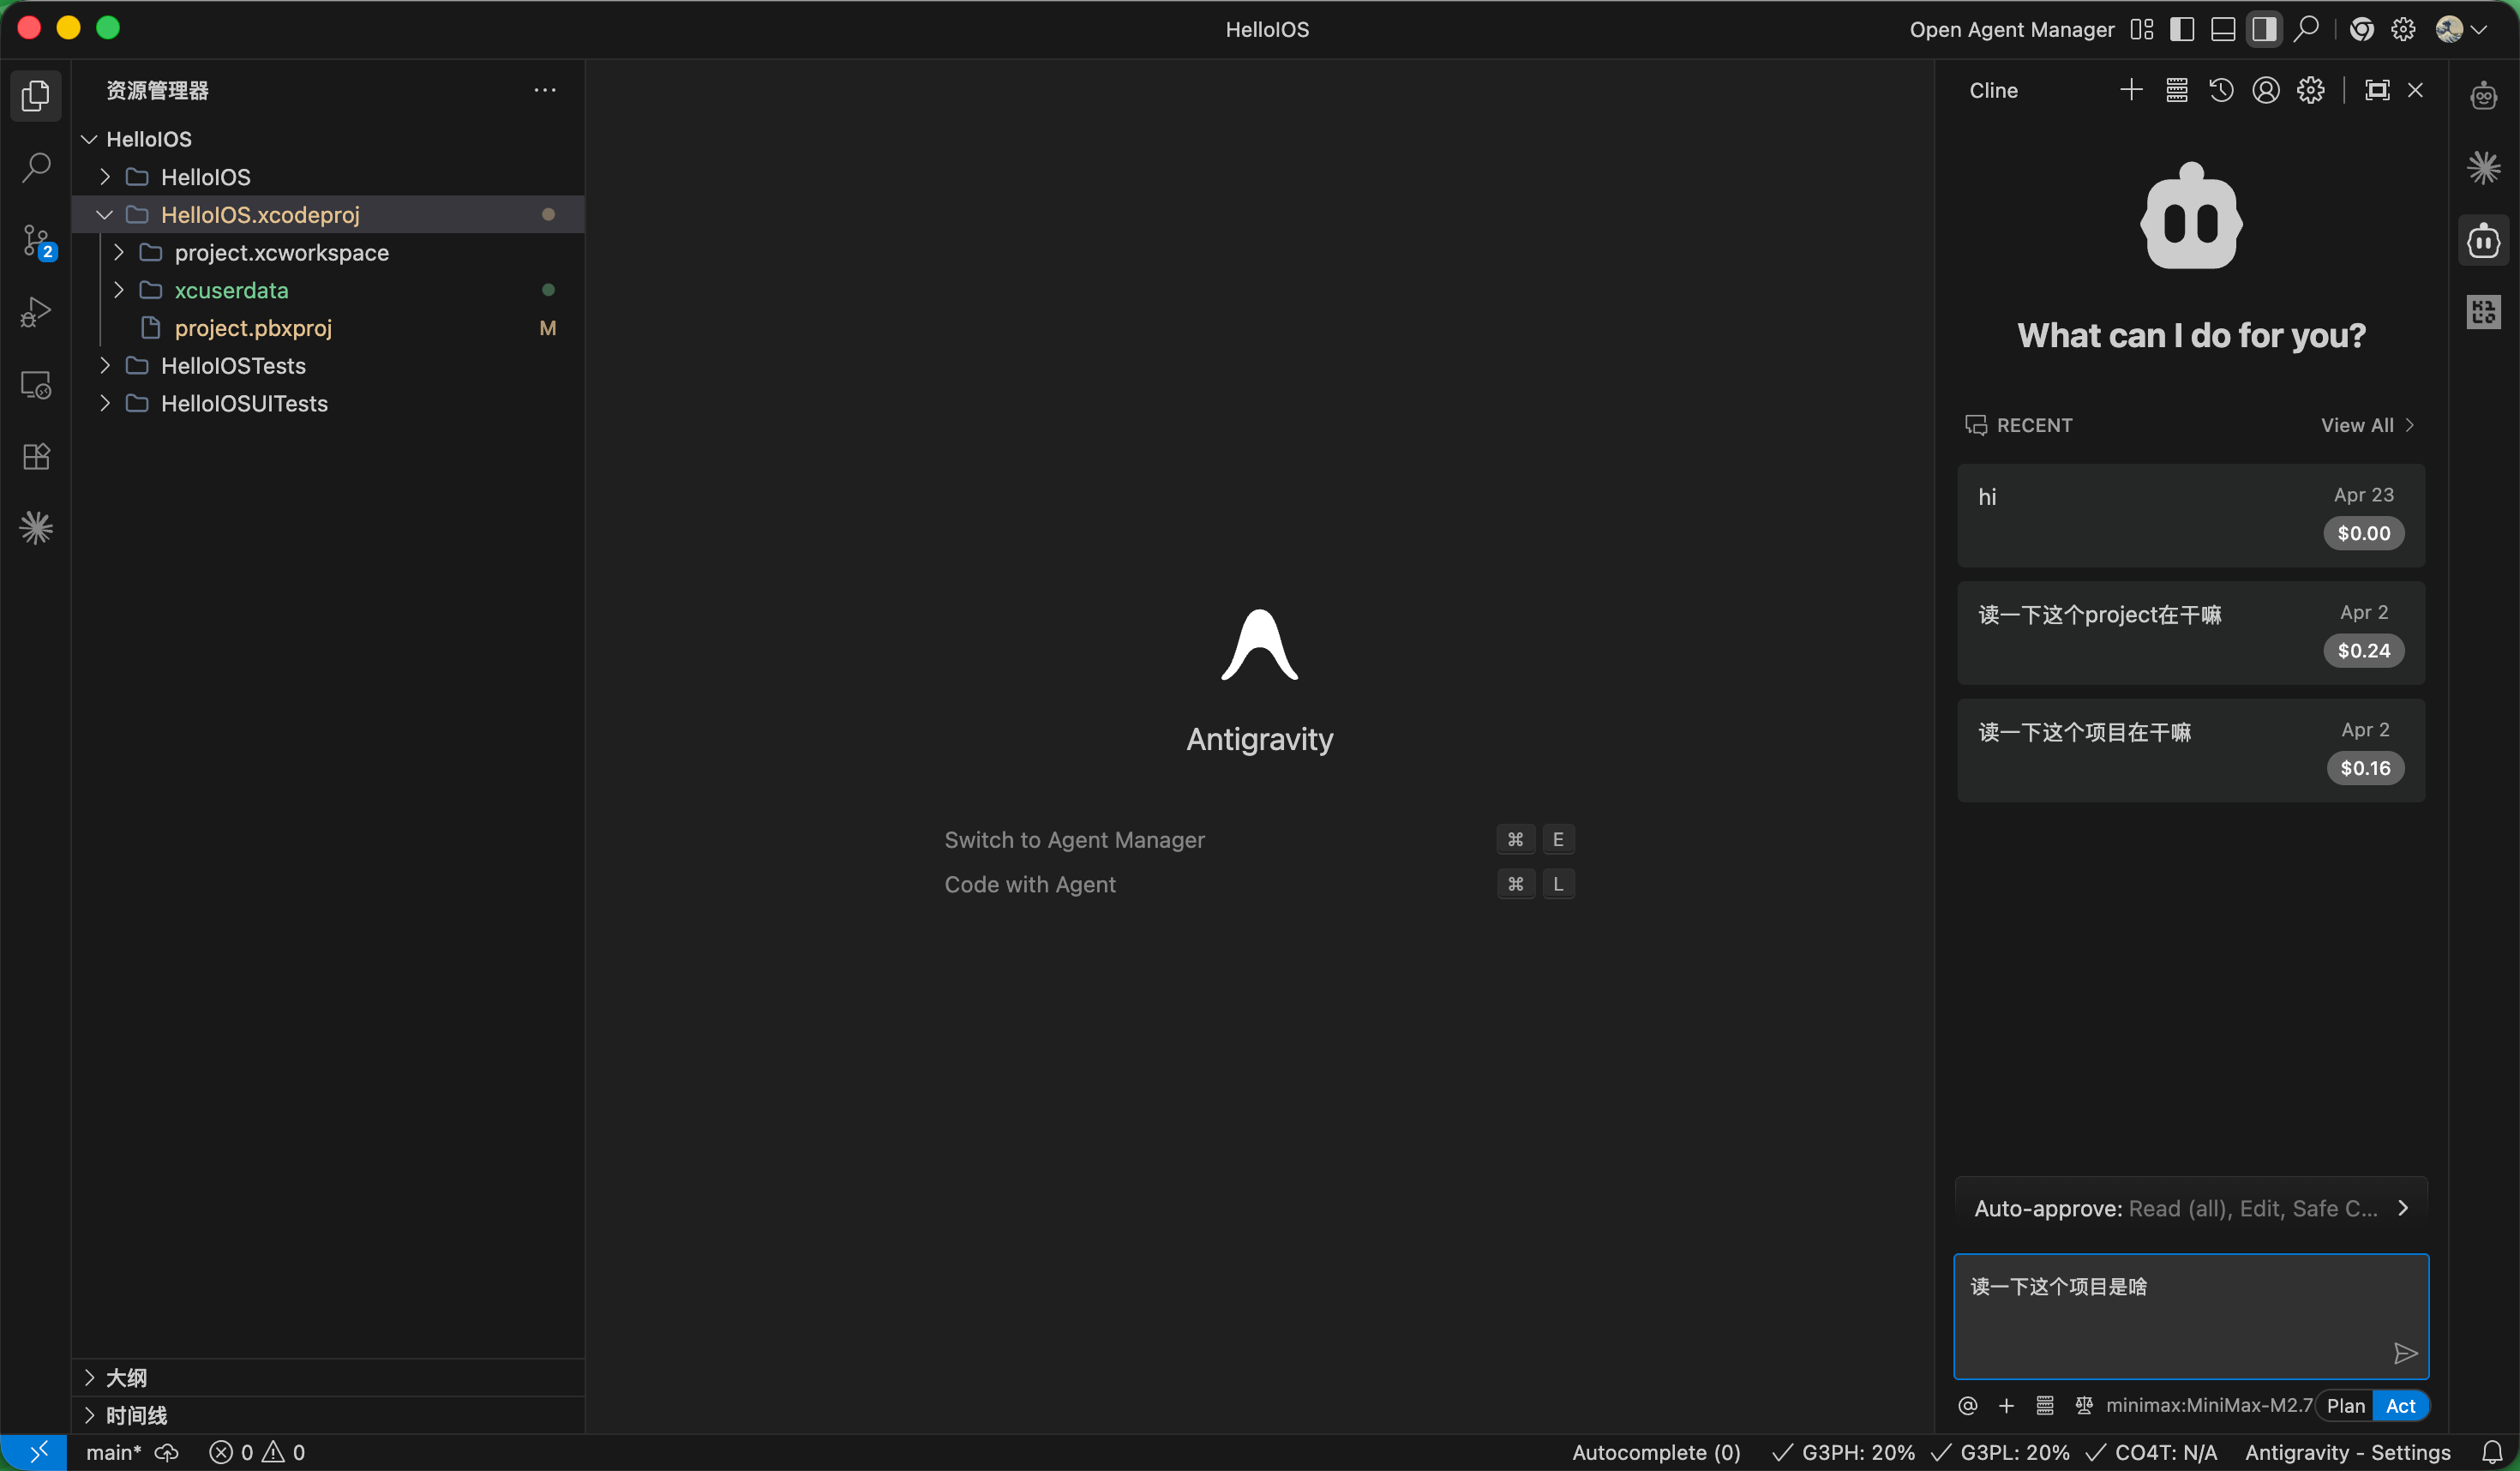
Then ask for specific tasks. Break your request into small, focused steps instead of asking AI to solve everything at once.
Good prompt examples
- My project fails to run. Help me identify the root cause:
xxxxxxxx. - I want to add a feature. What implementation options do I have for this expected behavior:
xxxxx?
Bad prompt example
- Turn this project into a global Alipay clone with instant settlement and multi-currency payout.
Then wait for the agent to execute. Cline’s strength and weakness are both in its real-time visible actions.
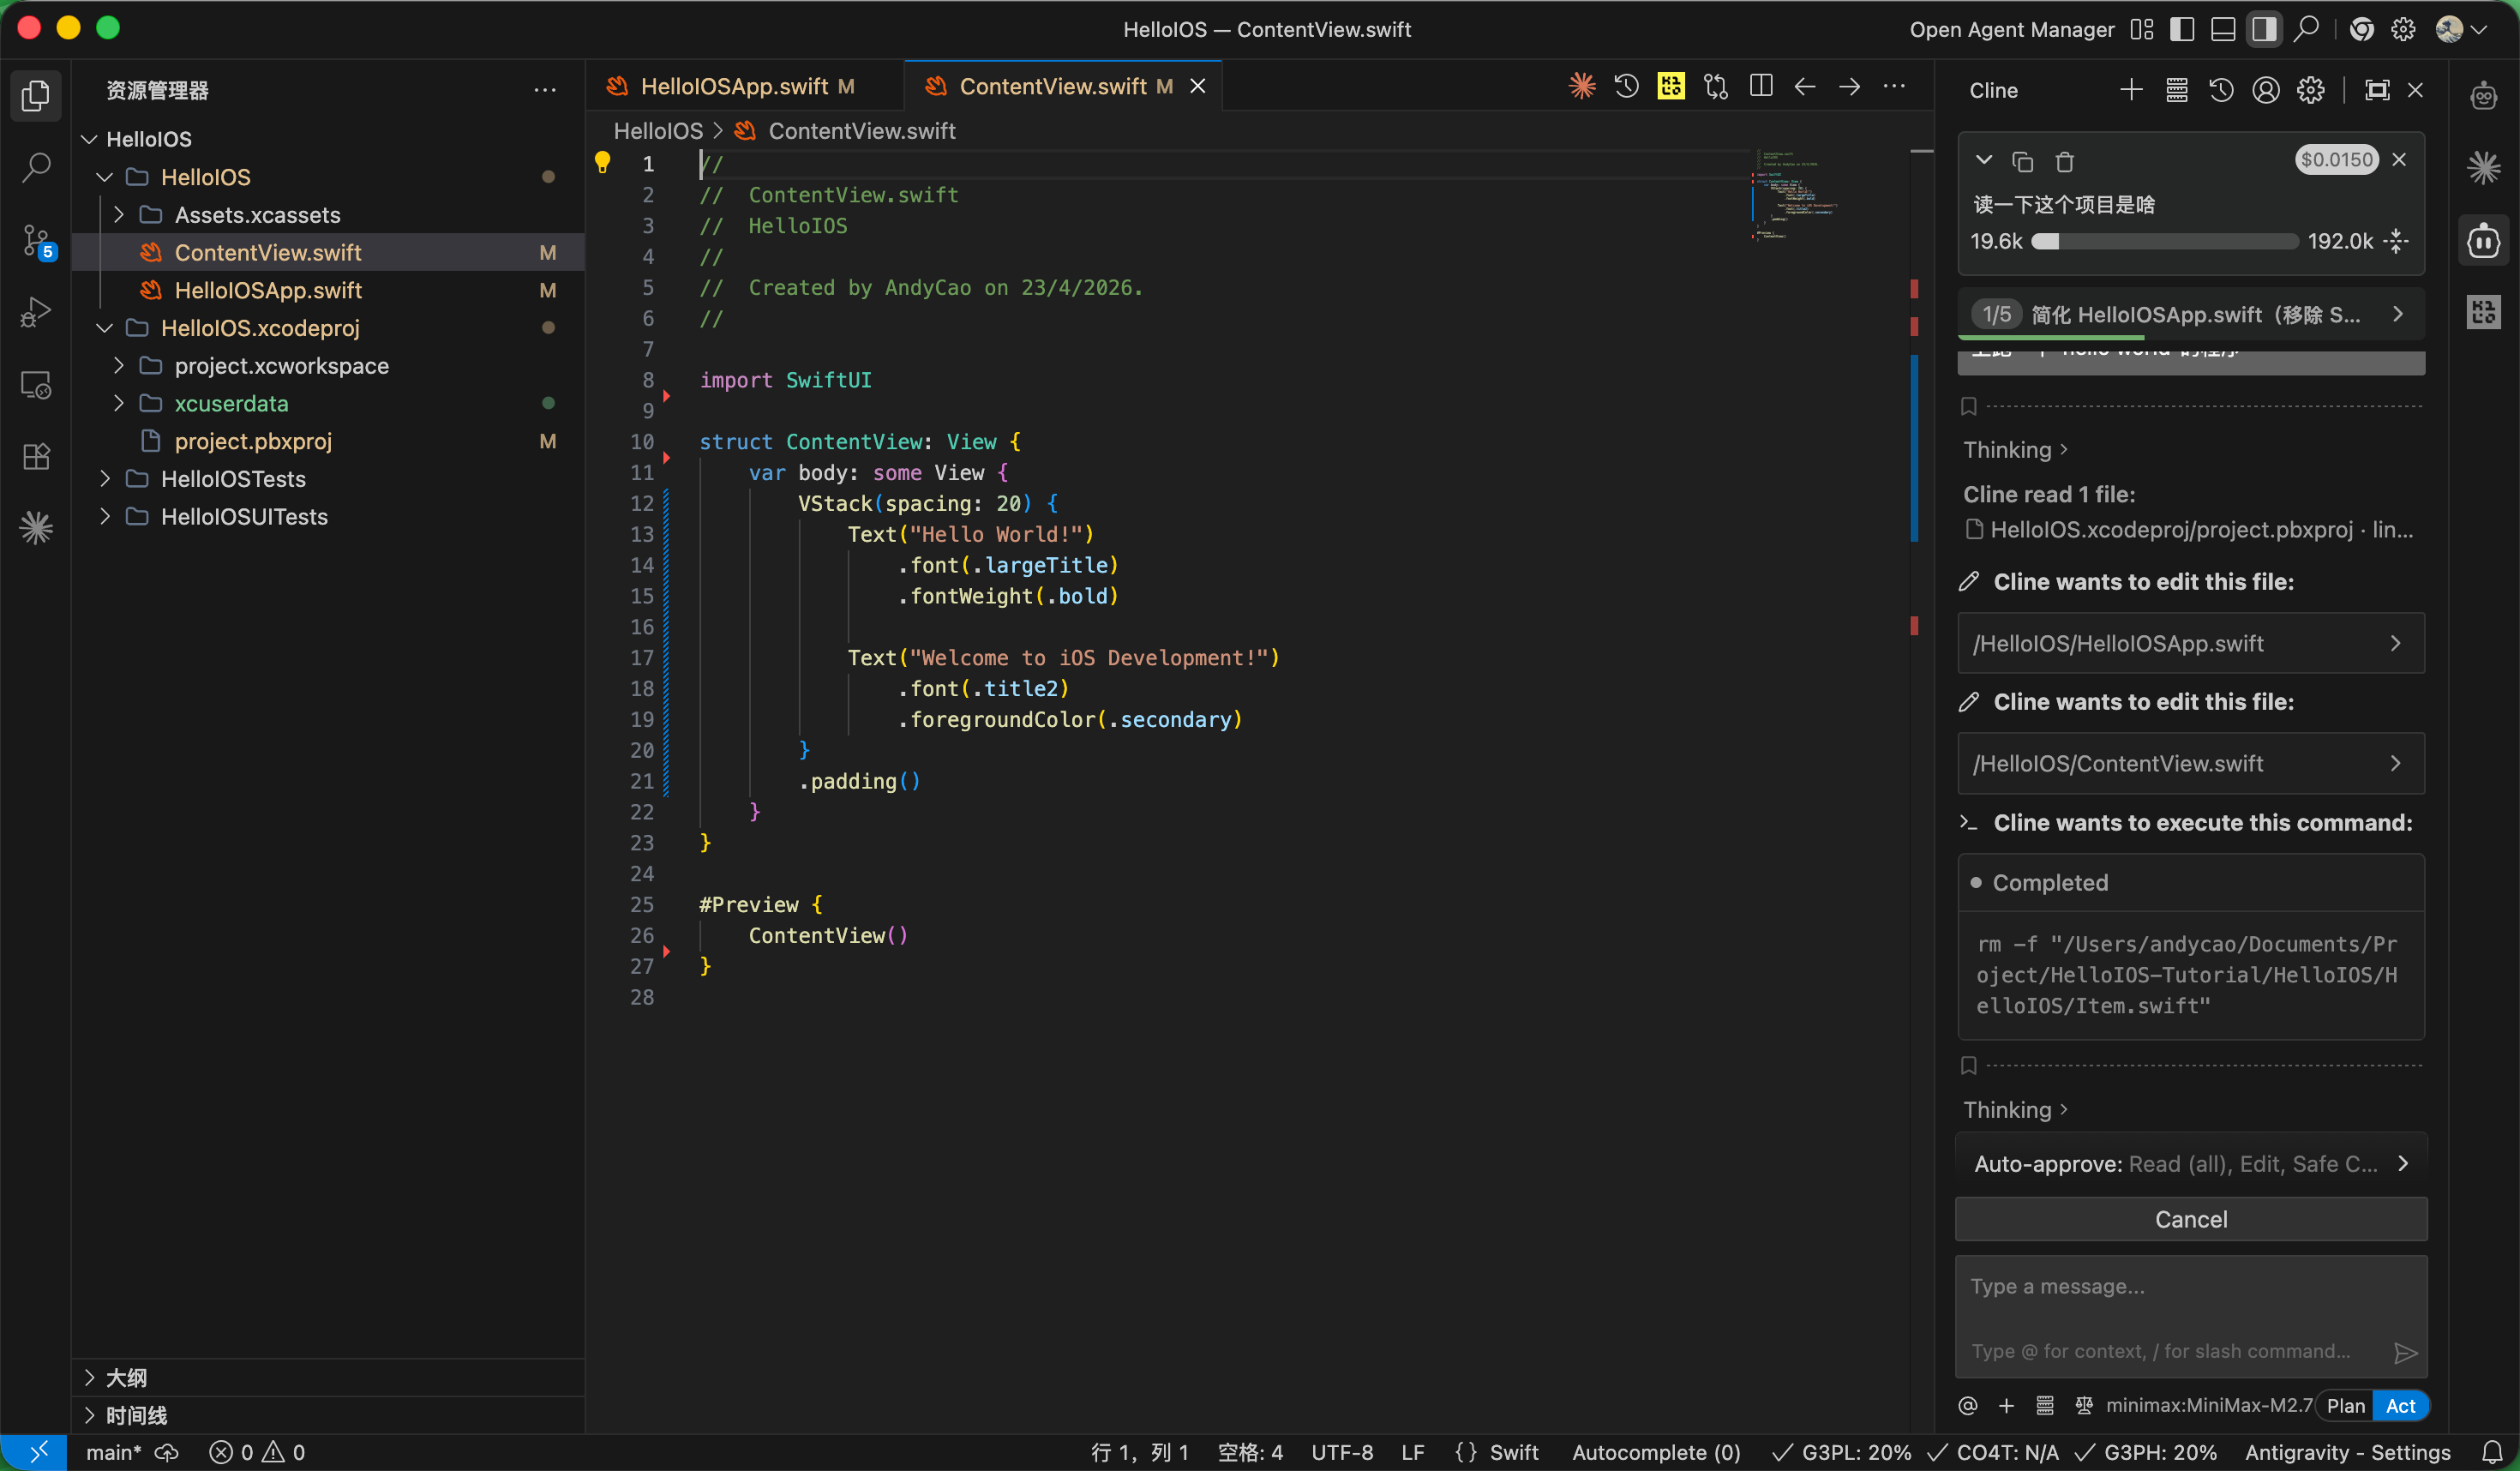
After the agent finishes and reports all fixes done, return to Xcode and build again.
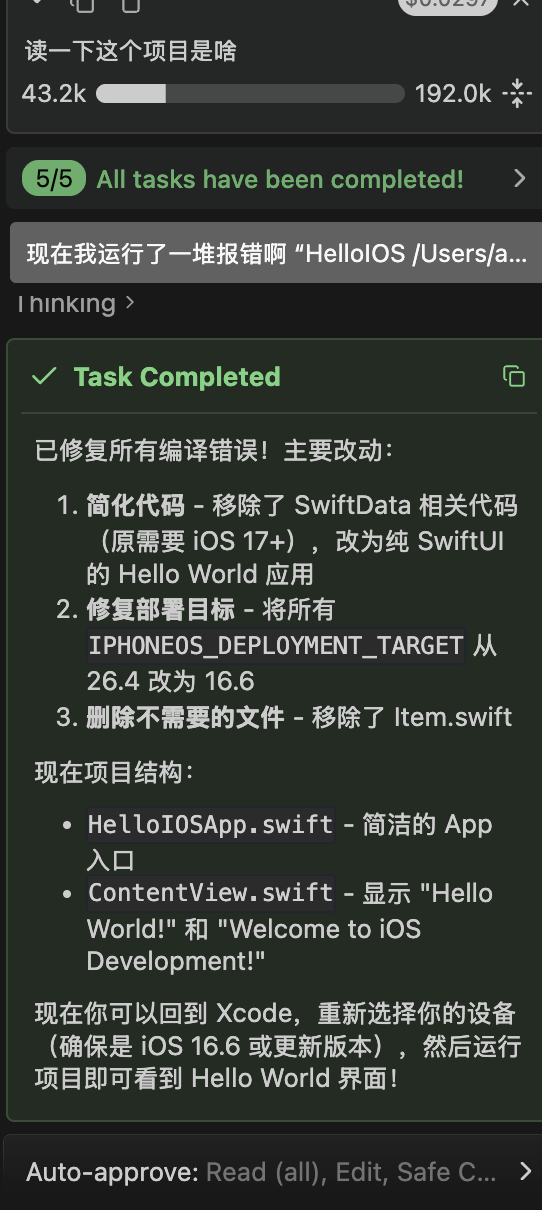
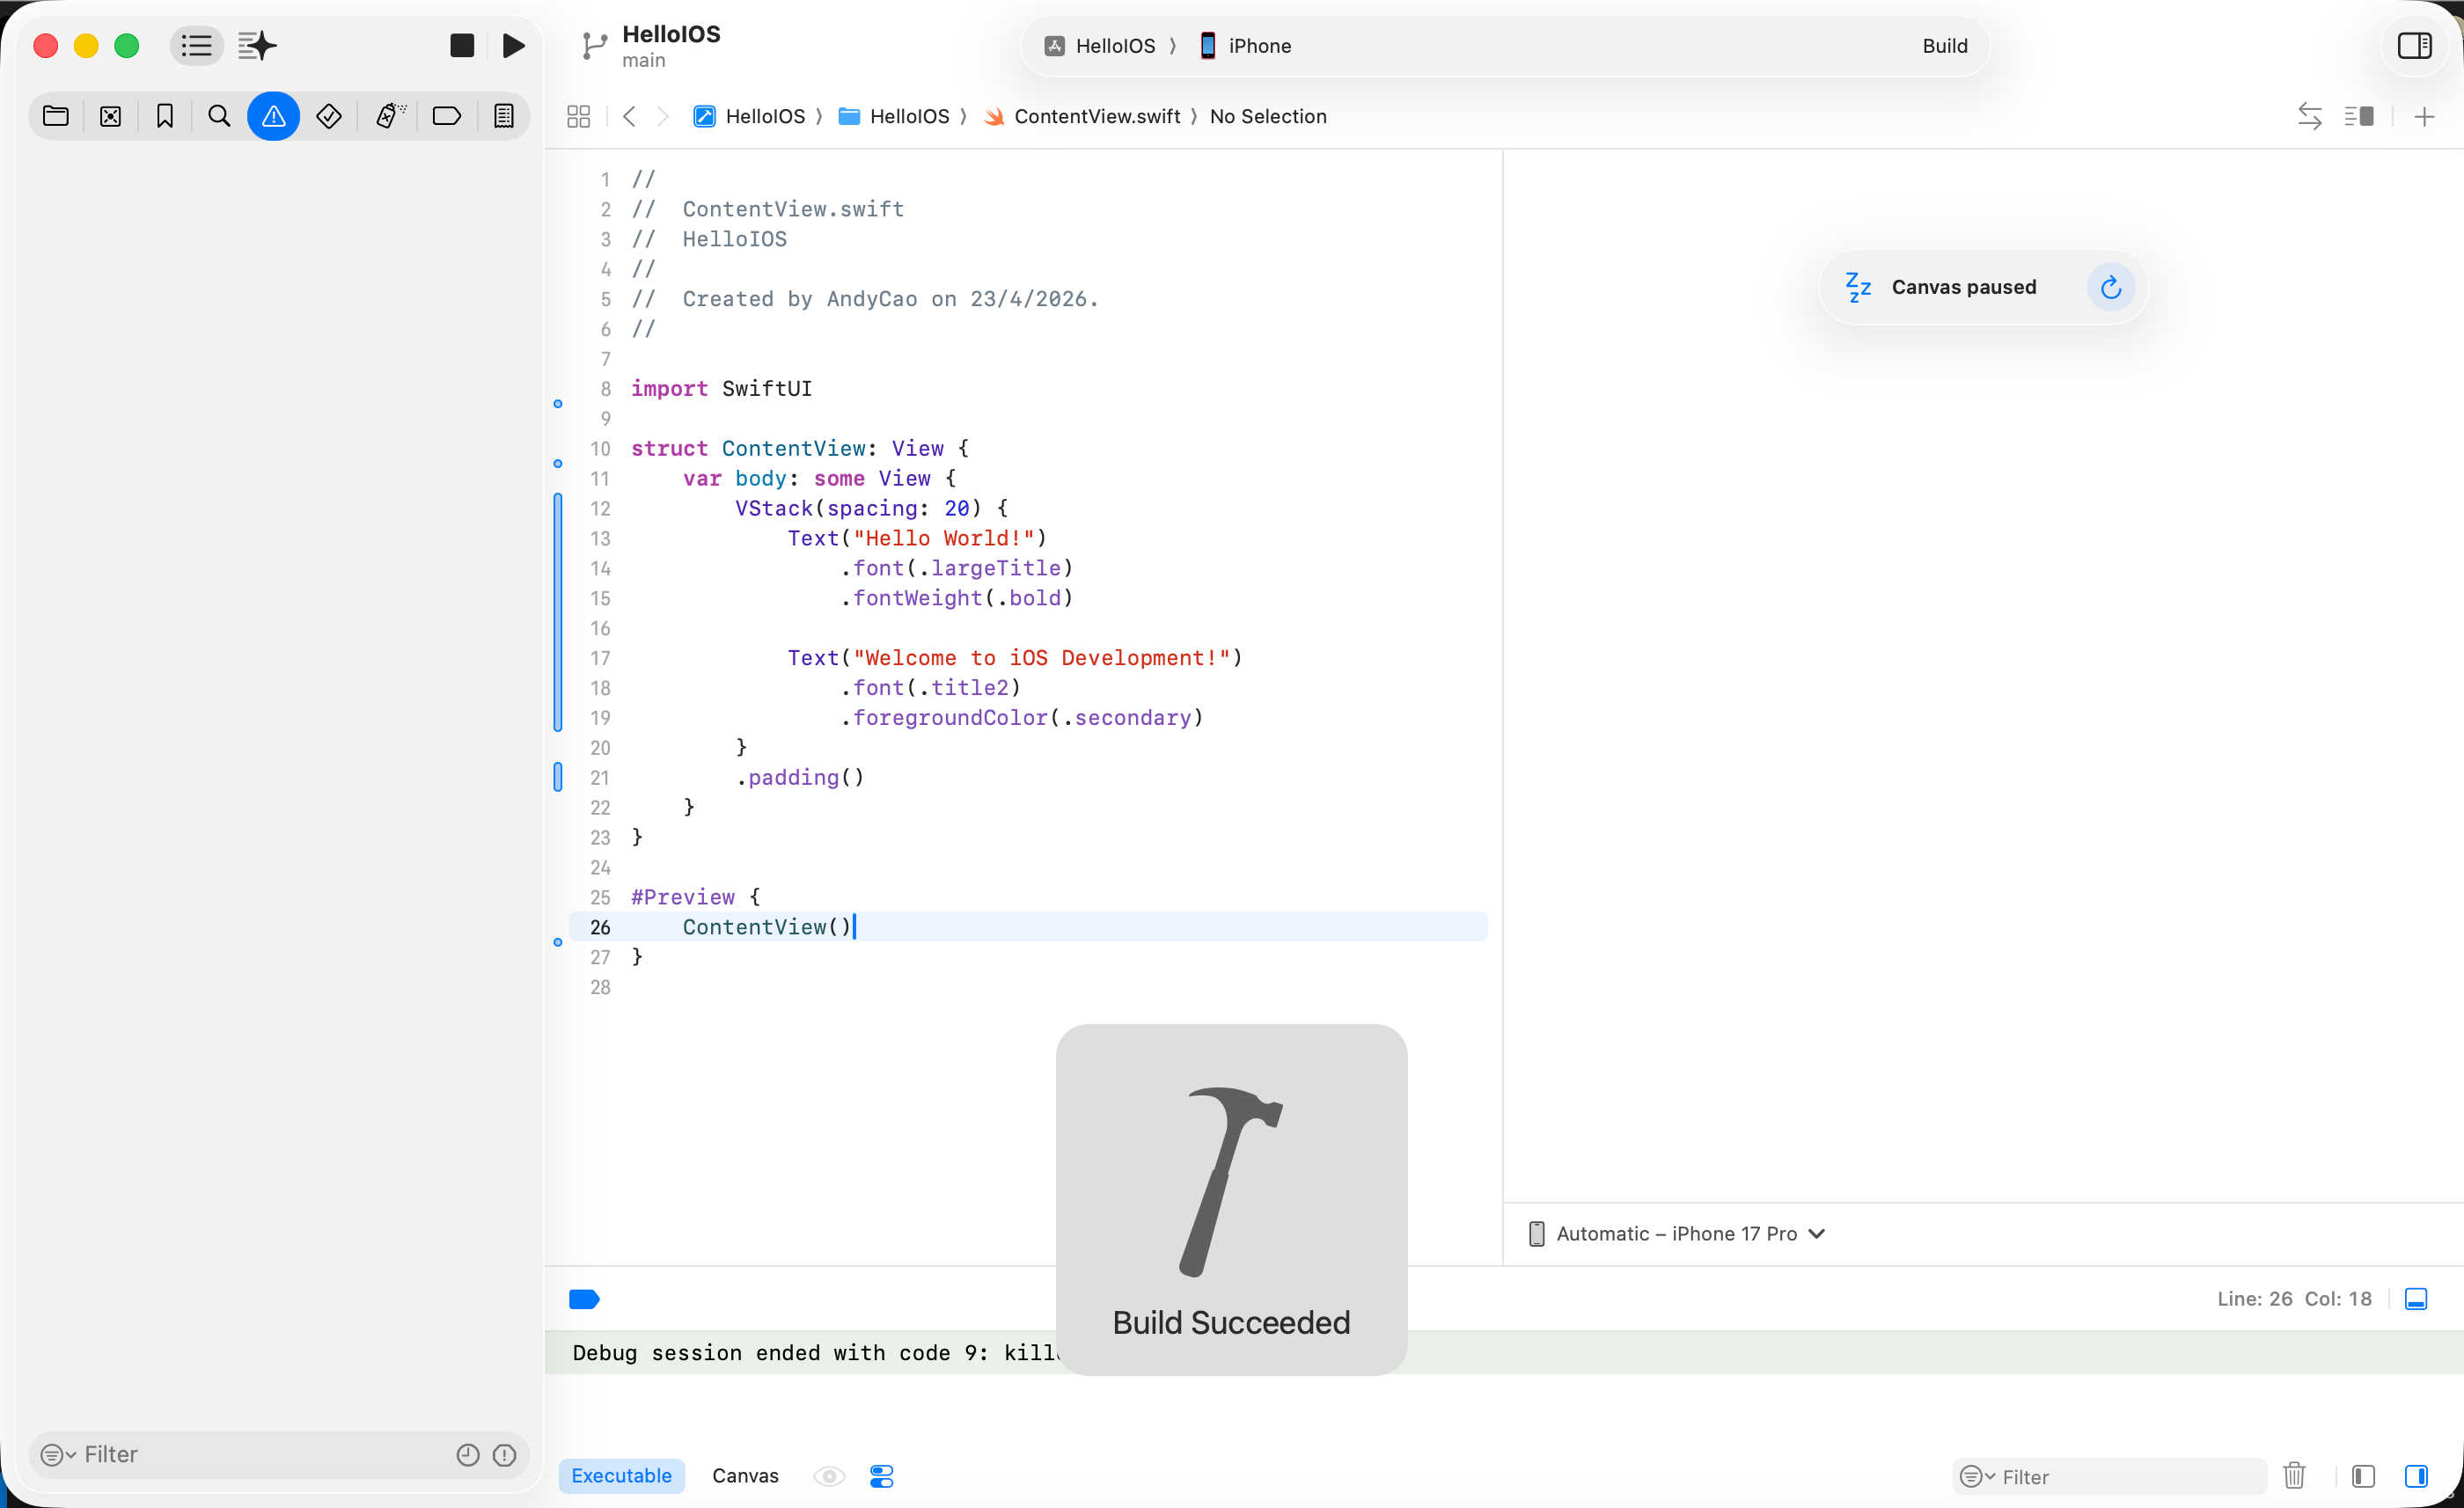
If everything is connected correctly, your device will show an install animation and then finish app installation.

Open the app, and it runs.
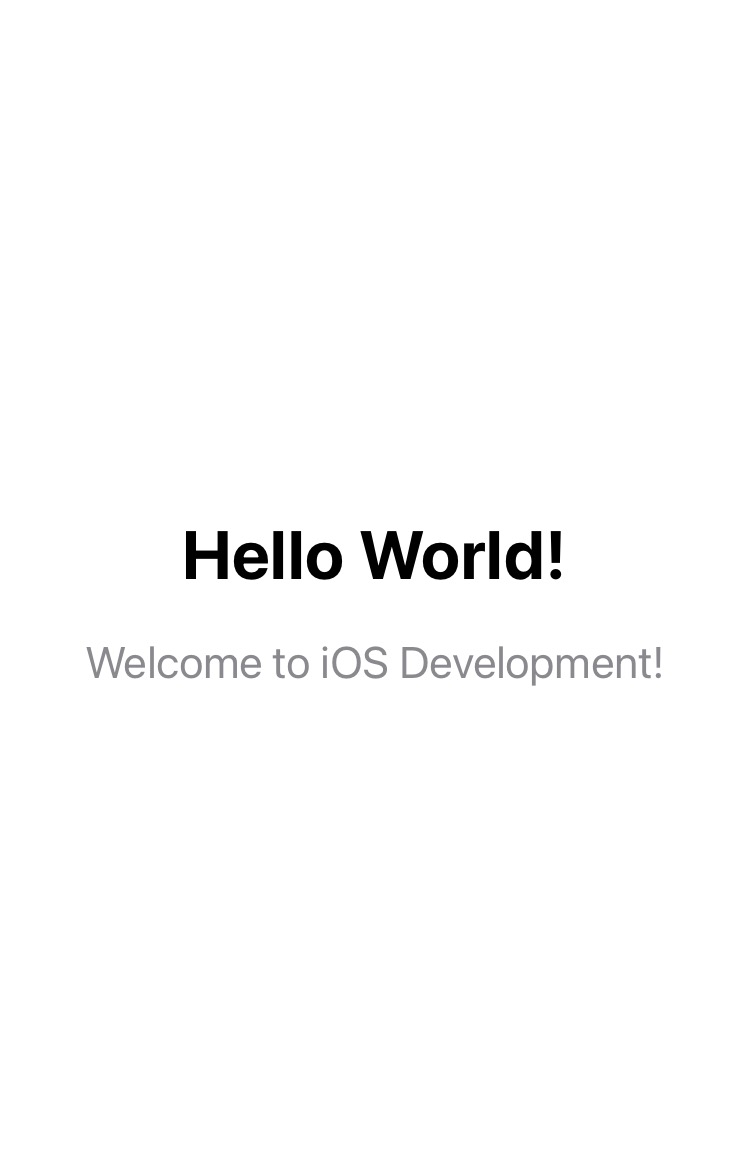
Congratulations. You built your first iOS app.
Epilogue
This program is simple and not very useful by itself, but it marks the most important first milestone in iOS development: running your own app on your own device.
After this step, you now understand:
- how to enroll as a developer
- how Xcode project creation and structure work
- the compile-run-debug loop
- how to use AI tools to modify code
- basic setup of a practical development environment
This is the moment you move from a consumer role to a creator role.
“Hello World” is often the first output most programmers ever write.
When I first printed
Hello Worldin Python years ago, I did not feel that “amazing” moment from textbooks. I just thought: “That is it?”Maybe because I used PCs all the time, printing one line did not feel special. But getting my first app running on my own device did feel genuinely amazing.
That reminds me of Douglas Adams’s Three Rules of Technology.
Douglas Adams’s Three Rules of Technology
- Anything that is in the world when you are born is normal and ordinary and is just a natural part of the way the world works.
- Anything invented between when you are 15 and 35 is new and exciting and revolutionary and you can probably get a career in it.
- Anything invented after you are 35 is against the natural order of things.
In the future, people may treat the GPT era as if it had always existed. But for those living through it right now, this is an exciting transition period that connects old and new. Keep learning and stay open.